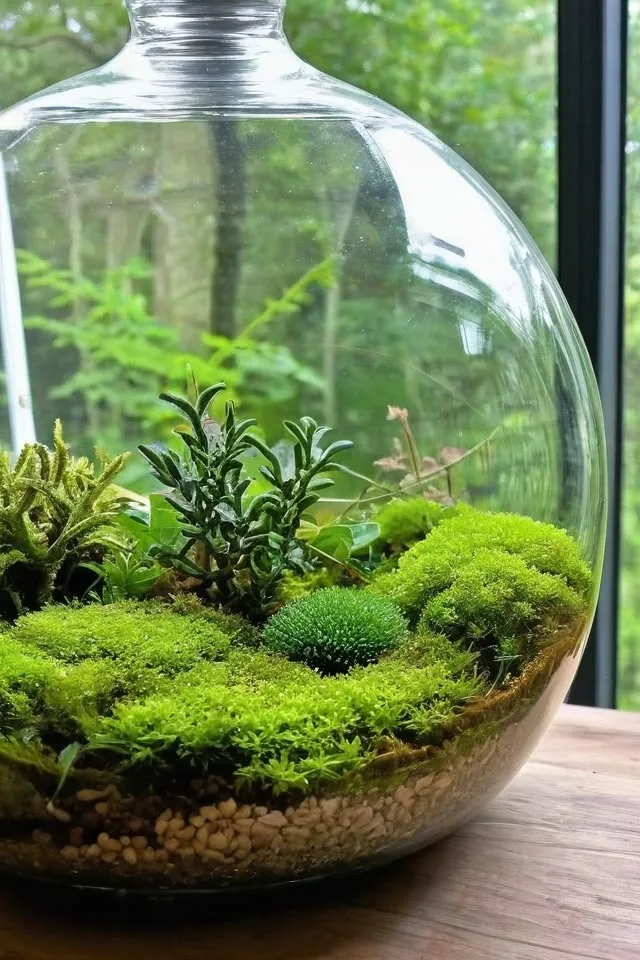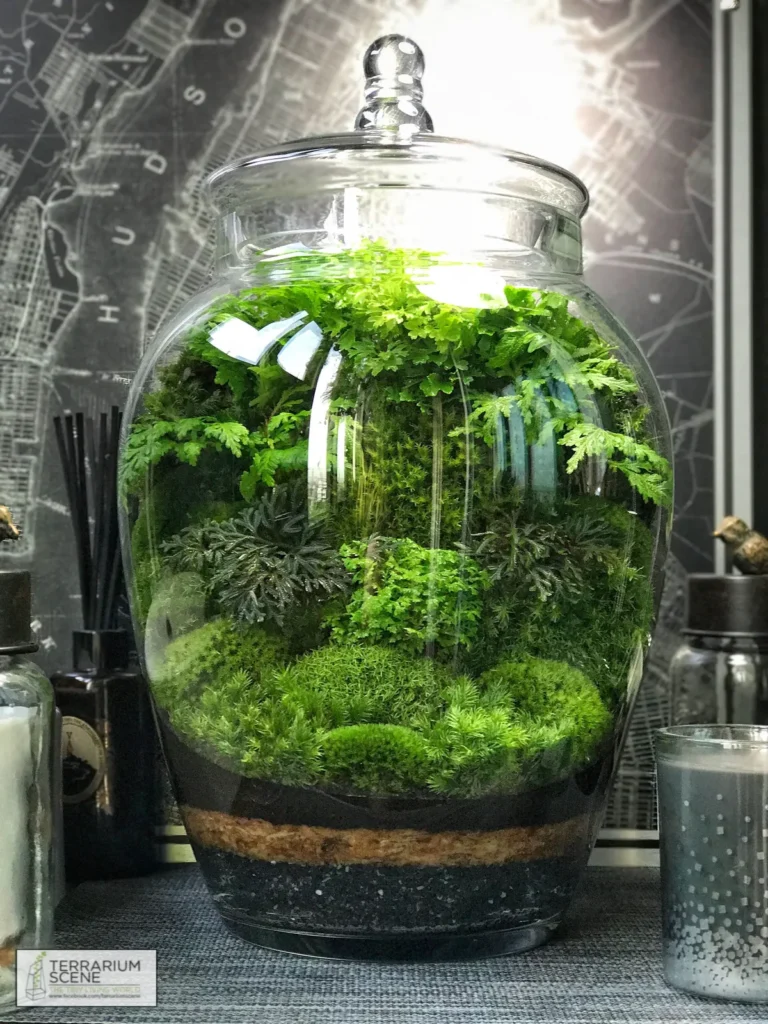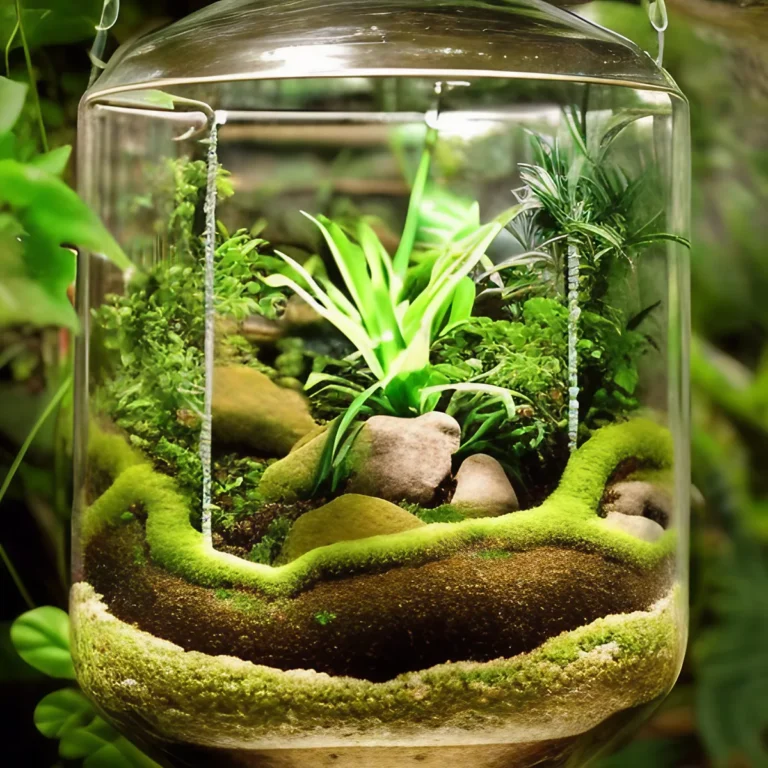

Keeping glass enclosures clean used to mean scrub brushes, harsh chemicals, and constant maintenance. The Bioactive Revolution: How Terrariums Changed Forever solved this hassle by turning sterile glass boxes into self-cleaning natural habitats. Instead of resisting nature, we now work with it.
Environmental research indicates that active microbial systems reduce enclosure maintenance by up to 90 percent. Horticultural data shows that healthy soil microbes prevent root rot by constantly aerating the dirt. Let’s look at why the old way of managing these systems had to change.
Quick Answer
The Bioactive Revolution: How Terrariums Changed Forever introduced self-cleaning ecosystems to home hobbyists. Live plants and tiny bugs break down all organic waste. Beneficial microbes convert waste into plant nutrients naturally.
This system eliminates the need for frequent soil changes. It keeps the enclosure smelling clean and fresh.
The Death of the Sterile Tank: Why Traditional Terrariums Failed
For decades, indoor gardeners kept plants in basic glass vessels. If you wanted to keep things clean, you had to sanitize everything. This meant scrubbing the glass, replacing the dirt, and using fake decorations.
It was a constant battle against nature.
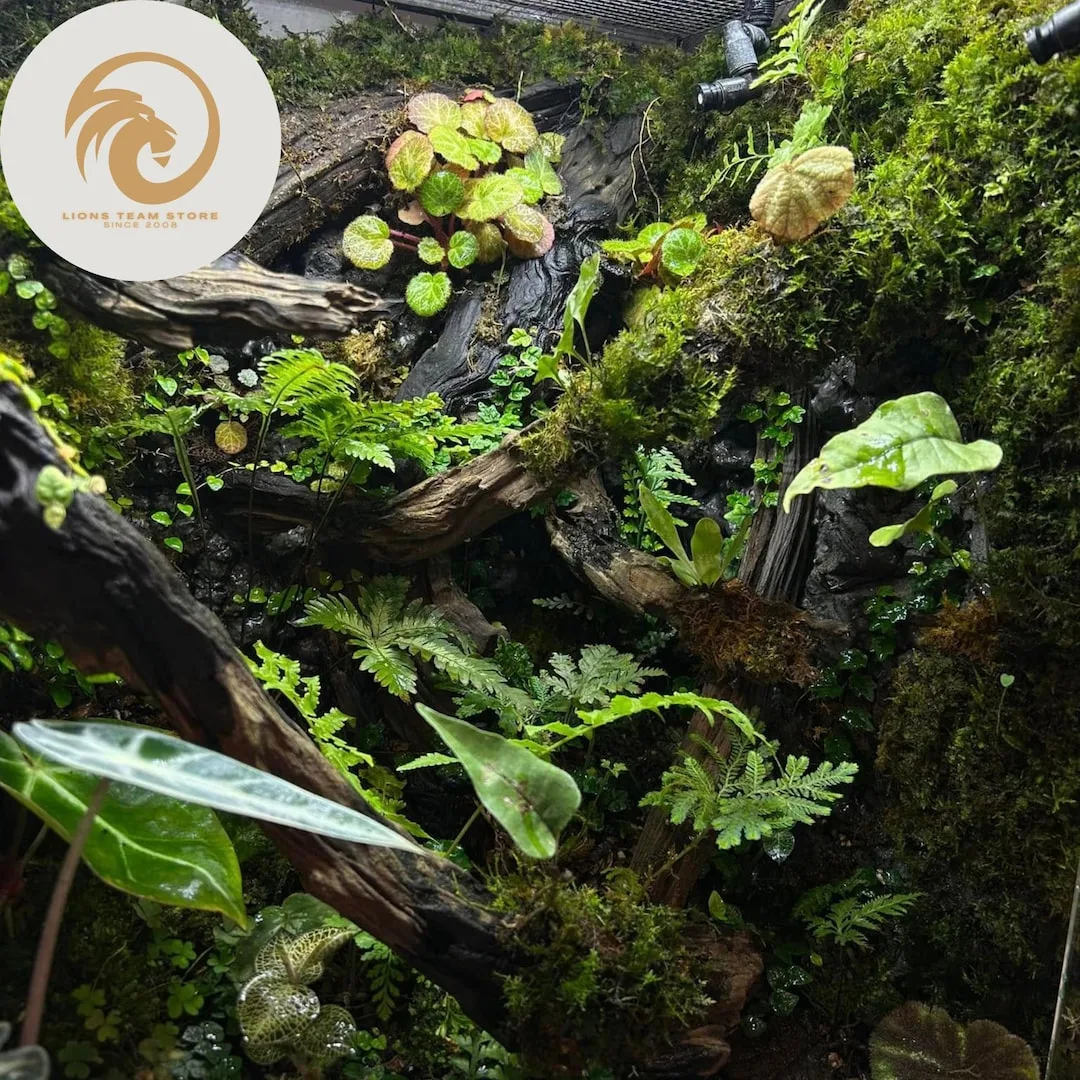
These sterile setups almost always suffered from stagnant air and mold spikes. Without any natural airflow or drainage, water pooled at the bottom. The roots would suffocate, rot, and turn the soil sour.
Eventually, the entire system would crash. Hobbyists realized that fighting natural decay with chemicals was a losing game. The solution was not to sterilize the environment, but to make it alive.
Traditional glass tanks also required constant human intervention. Every few weeks, you had to scoop out dirty bedding to control smells. This process stressed out live plants and disrupted the delicate roots.
The bioactive shift replaced this high-maintenance chore with a self-cleaning biological cycle.
The Bioactive Shift: How the Living Soil Cycle Works
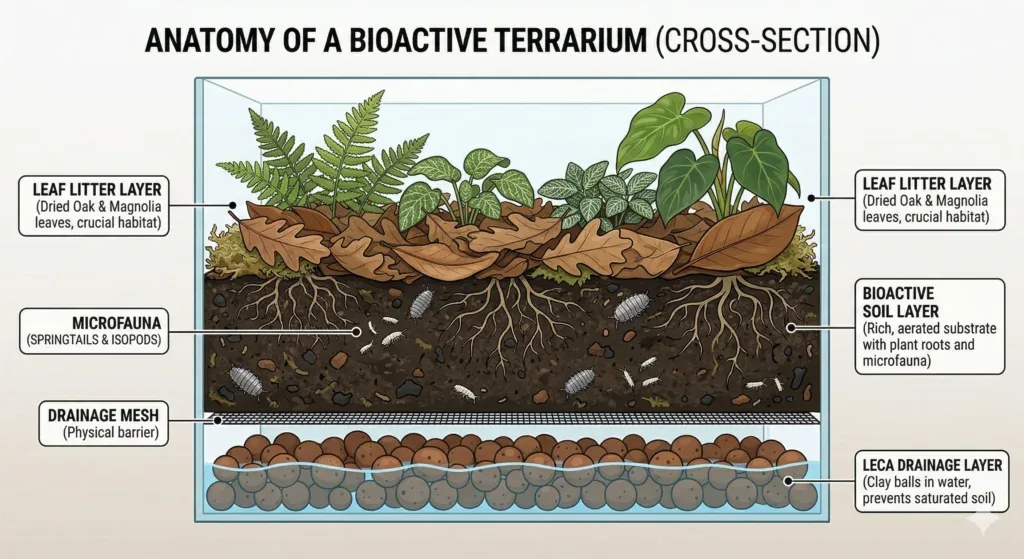
The heart of a bioactive system is its soil. Instead of using plain potting soil, we use specialized dirt blends that support microfauna. These soil mixes are designed to stay loose and airy even when wet.
When plant leaves fall or organic waste accumulates, the cycle begins. Microscopic fungi and soil bacteria break these materials down. Our research shows that these microbes act as the primary decomposers in the system.
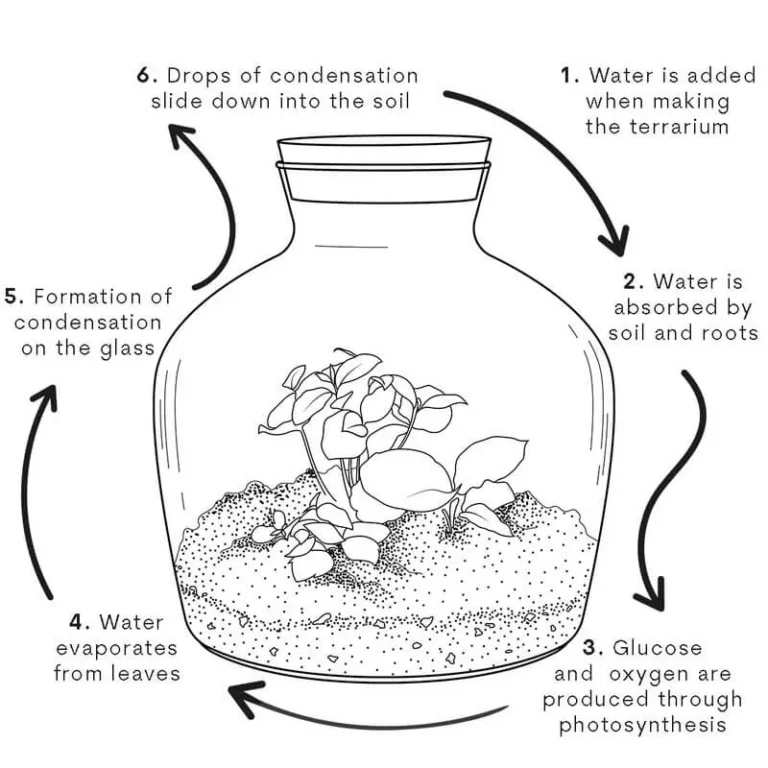
According to the Oregon State University Extension Service, healthy soil biology relies on a complex web of microbes to recycle nutrients. In a closed tank, these microbes feed the plants by releasing nitrogen and phosphorus back into the dirt. The plants then absorb these nutrients to grow new leaves, repeating the cycle.
This biological recycling means you rarely need to fertilize your plants. The soil maintains its own nutrient levels naturally over time. It mimics the natural forest floor right inside your home.
Deciding Your Biome: Tropical Rainforest vs. Arid Scrubland
Before you buy any supplies, you must choose your biome. You cannot mix tropical plants with desert soil. If you try, the plants will die quickly.
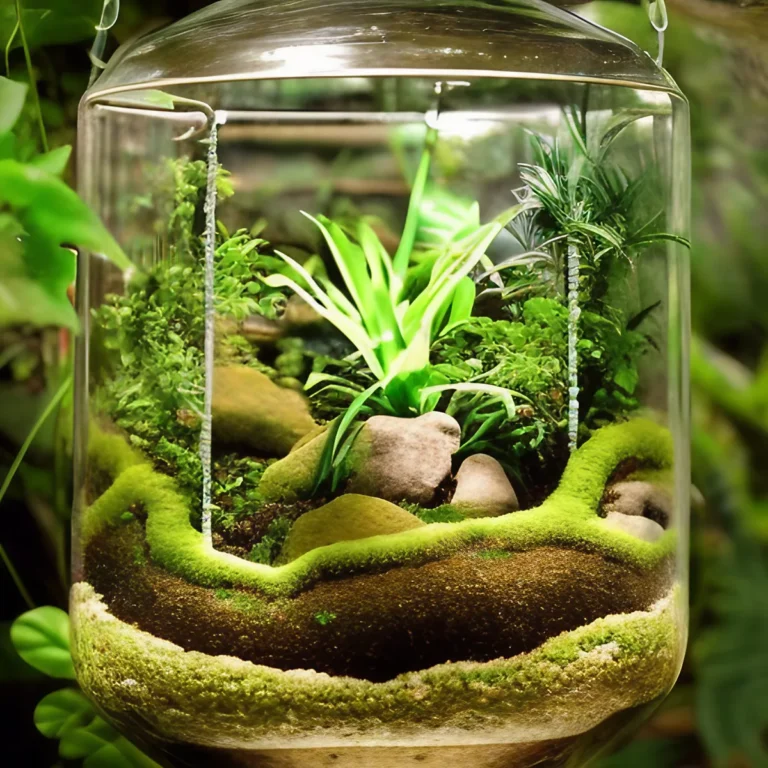
A tropical setup mimics a warm, humid jungle. It requires plants that love moisture, like ferns and mosses. This setup needs a constant humidity level of 70 percent or higher.
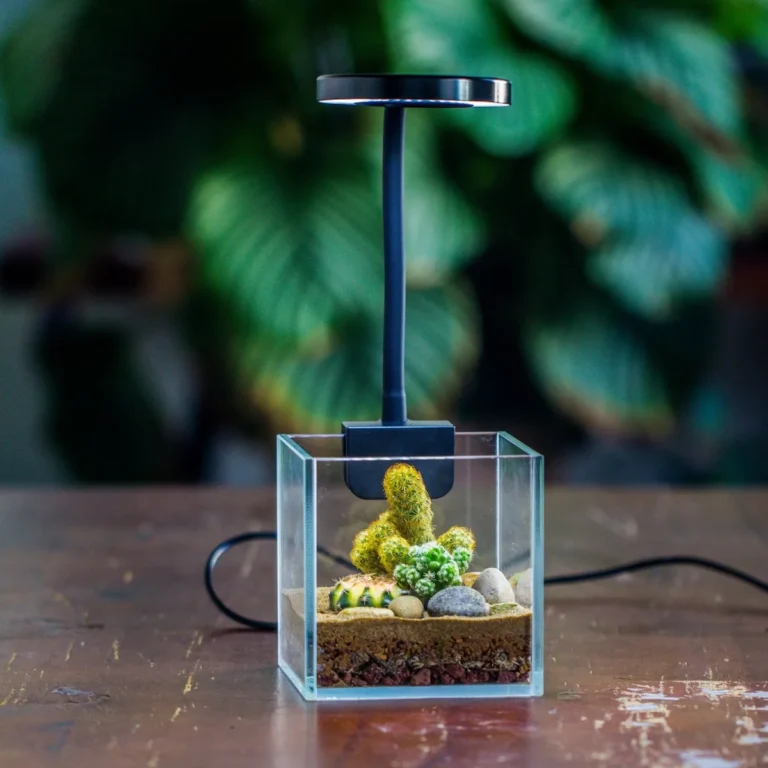
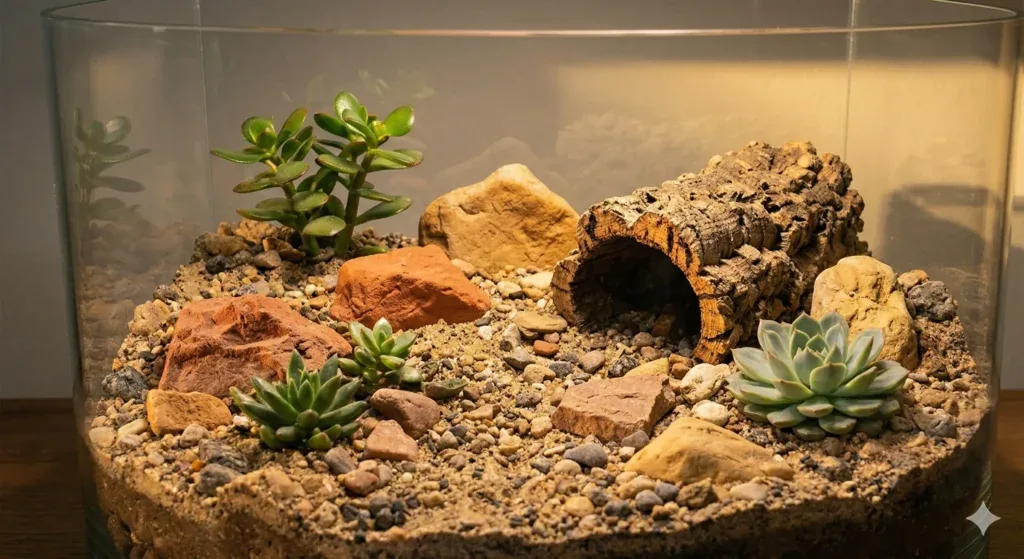
An arid setup mimics a dry desert. It features succulents, air plants, and sandy soil mixes. Humidity must stay low, usually below 40 percent.
Here is a side-by-side comparison of the two biomes:
| Feature | Tropical Rainforest | Arid Scrubland |
|---|---|---|
| Humidity Target | 70% to 90% | 30% to 50% |
| Watering Needs | Frequent misting | Rare, targeted watering |
| Soil Texture | Airy, moisture-retaining | Sandy, fast-draining |
| Typical Plants | Ferns, pothos, fittonia | Succulents, air plants |
When selecting your greenery, picking compatible species is the key to long-term success. Matching your plants to your chosen climate prevents early system failures.
For instance, tropical setups benefit from climbing vines that handle high moisture. Arid setups need slow-growing plants that store water in their leaves. Mixing them up causes immediate rot or drying issues.
The Core Components of a Living Ecosystem
Every bioactive tank relies on a specific layering system. Each layer has a job to do. If you skip a layer, the whole ecosystem can fail.
The bottom layer is the drainage reservoir. We use lightweight expanded clay pebbles to catch excess water. This prevents the soil from sitting in stagnant pools.
Above the clay pebbles sits the substrate separator screen. This physical mesh divider keeps the dirt from falling into the water reservoir. It is a crucial barrier that maintains clean drainage.
Next is the bioactive soil itself. On top of the soil, you must add organic forest debris. Dried leaves provide shelter for your bugs and release nutrients as they decay.
You can also add natural hardscape elements like cork bark and stones. These structures provide climbing areas for plants and micro-climates for your cleanup crew. Without these hiding places, the tiny bugs cannot survive.
Choosing Your Cleanup Crew: The Tiny Workers That Keep It Clean
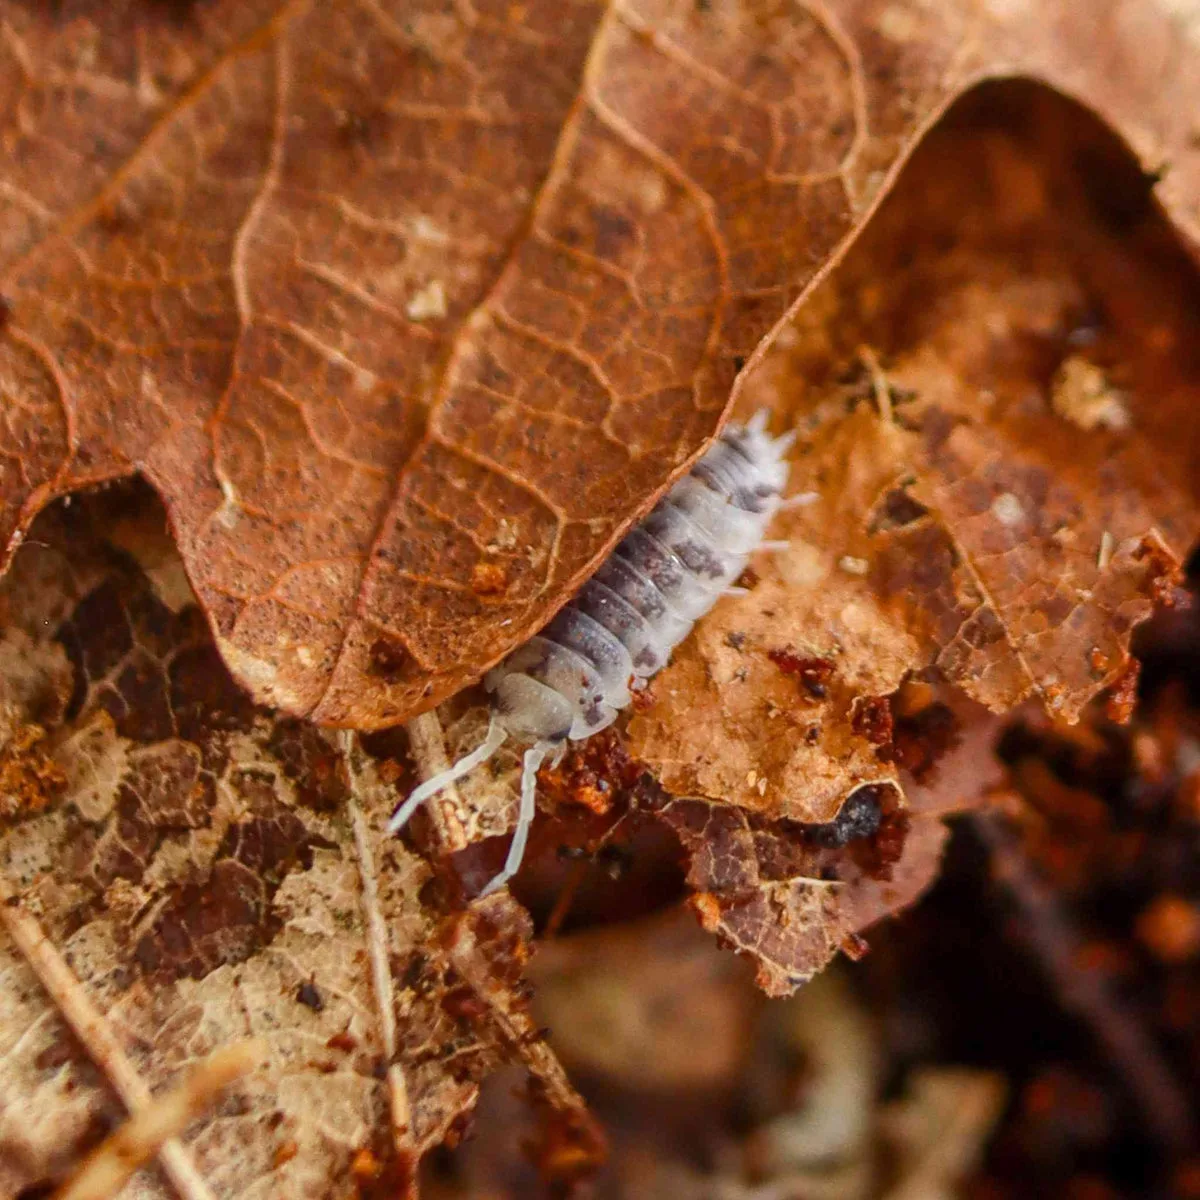
Without a cleanup crew, your terrarium is just a wet box of dirt. These tiny organisms are the janitors of the system. They eat mold, decaying leaves, and organic waste.
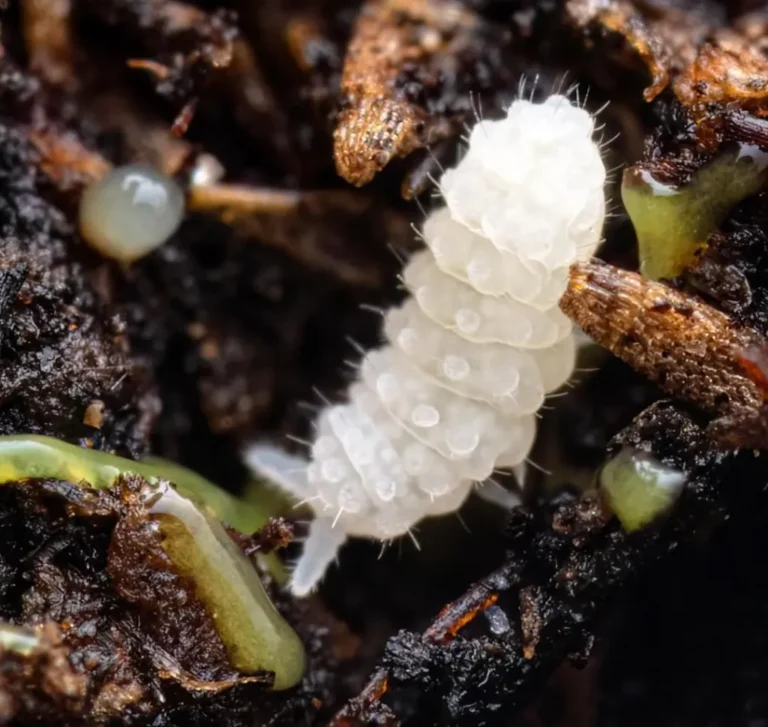
Springtails are the most important addition. These tiny, wingless insects are incredibly small but have a massive impact. They feed on mold spores and keep fungal outbreaks under control.
Isopods are larger cleanup partners. As of 2026, hobbyists have cataloged dozens of colorful isopod varieties for home enclosures. They consume heavier waste like fallen leaves and wood decay.
If you notice mold forming, do not panic. Introduce your cleanup crew and let them balance the system. They are highly efficient at fixing excess moisture issues by consuming the resulting fungal growth.
You can also use earthworms or packaging beetles for larger setups. They tunnel through the soil to keep it loose. This aerating action prevents the dirt from packing down too tightly over time.
The Step-by-Step Bioactive Build Workflow
Building your first living system requires a methodical approach. If you rush the assembly, you risk mixing the layers. This ruins the drainage capability of the system.
Before starting, decide on your tank type. Our research suggests that selecting the right enclosure material affects how well the habitat retains heat and humidity. Once you have your tank, follow these steps to build the ecosystem.
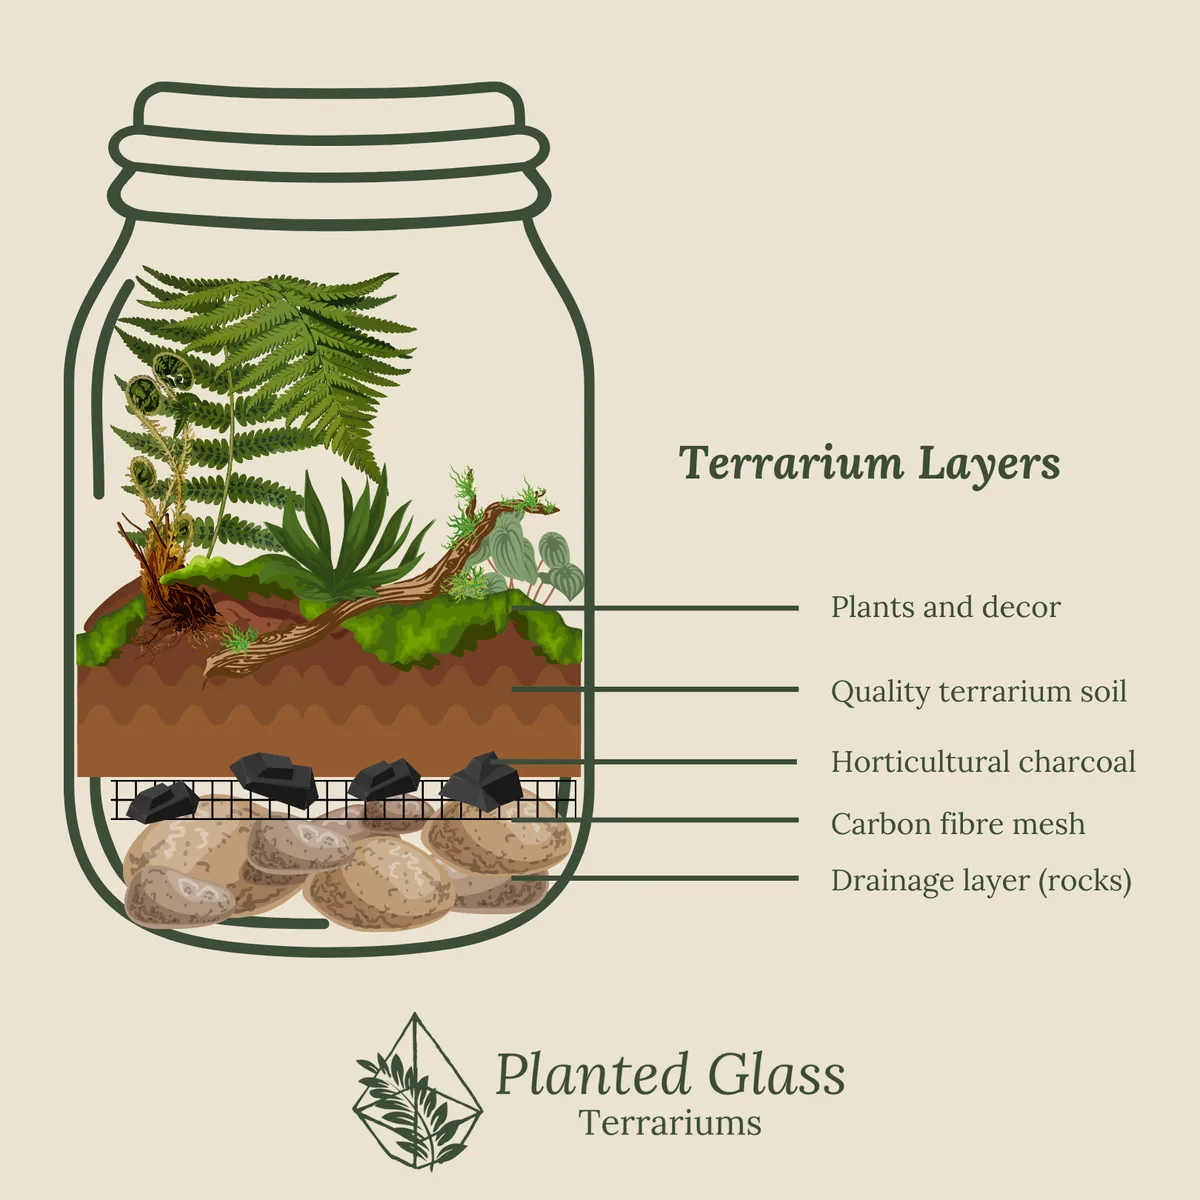
1. Add the Drainage Layer
Pour a two-inch layer of expanded clay pebbles into the bottom of the empty tank. This layer acts as a safety valve. It collects excess water so your soil does not become waterlogged.
2. Lay the Mesh Barrier
Cut your mesh screen to fit the exact dimensions of your tank. Lay it directly over the clay pebbles. Make sure there are no gaps around the edges where dirt could slip through.
3. Pour the Bioactive Substrate
Add at least three to four inches of your soil mix on top of the mesh. Do not pack the soil down too tightly. You want to leave air pockets for plant roots and burrowing bugs.
4. Arrange the Hardscape
Place your heavy branches, cork bark, and stones into the tank. Press them firmly into the soil so they cannot tip over. Create natural caves and pathways for your future cleanup crew.
5. Plant and Mist the Setup
Clear small holes in the soil and gently set your plants in place. Cover the roots completely and press the soil around them. Mist the entire setup using purified or distilled water to settle the dirt.
6. Add Leaf Litter and Seed the Bugs
Scatter a generous layer of dried leaves over the soil surface. Finally, gently release your springtails and isopods directly onto the leaves. Put the lid on the tank and turn on your lighting system.
The Critical First Month: The Ugly Phase and Cycling
Once your tank is assembled, you must let it cycle before adding any animals. Cycling is the process where beneficial bacteria and microfauna establish their populations. This phase takes about four weeks.
During the first two weeks, you will likely see a sudden bloom of white mold. Do not panic or spray chemicals to kill it. This is a normal part of the cycle, often called the ugly phase.
The mold grows because the new wood and soil release organic sugars. Your springtails will quickly discover this food source. Within a few days, the bugs will multiply and eat the mold.
This early period shows how easily these setups can fail if they are rushed. If you add inhabitants too early, their waste will overwhelm the young bug population. Give the microfauna time to build their numbers first.
When Bioactive Goes Wrong: Avoiding System Crashes and Root Rot
Even with a self-cleaning system, mistakes can happen. The most common danger is overwatering. When too much water pools in the bottom, the soil loses its oxygen.
Without oxygen, anaerobic bacteria begin to multiply in the mud. These bacteria produce gases that smell like rotten eggs. This condition is toxic to plant roots and will cause them to decay.
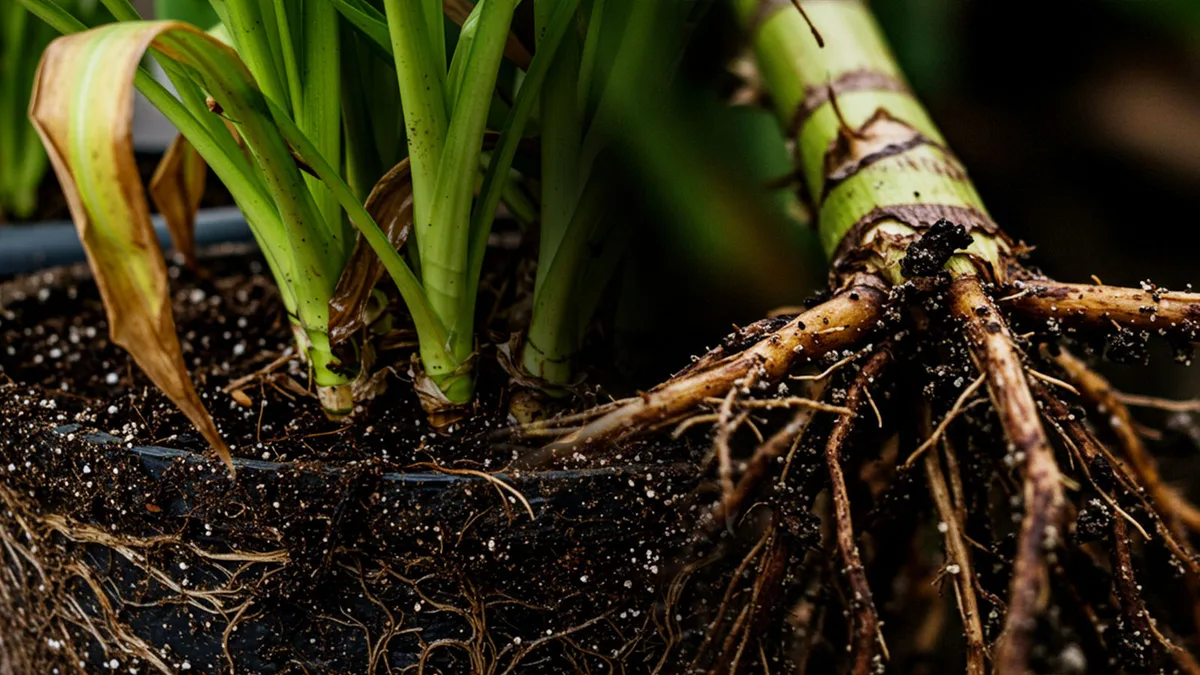
If you notice a foul odor, you must act quickly. Stop misting immediately and let the tank dry out. You can use a siphon to pull standing water out of the drainage layer.
Neglecting the soil health can lead to a total system failure where all the plants and bugs die. A single unchecked issue like rotting wood can trigger chain reactions of ecosystem issues throughout the tank.
Using incompatible plant varieties also speeds up this decay. Plants that rot easily will feed bad bacteria instead of helping the system. Always select sturdy, humidity-loving species for tropical builds.
Keeping the Balance: Weekly and Monthly Maintenance Routines
A bioactive terrarium is low maintenance, but it is not zero maintenance. You still need to perform basic upkeep to keep the system healthy. Establishing a routine prevents small issues from turning into major problems.
Our research shows that simple weekly checks keep the ecosystem stable. You should monitor the moisture levels daily and trim back overgrown plants weekly.
For a reliable upkeep schedule, refer to these steps:
- Daily: Check the temperature and ensure the soil is damp but not soaked.
- Weekly: Prune yellowing leaves and wipe clean the front viewing glass.
- Monthly: Add a fresh handful of dry leaf litter to feed the isopods.
- Bi-Annually: Stir the very top layer of soil gently to prevent compaction.
Following these structured maintenance plans keeps the soil biology active. It ensures your cleanup crew always has food and shelter.
Bioactive Quick Reference Guide: Troubleshooting Common Issues
If your system starts looking unhealthy, use this quick reference guide to identify and fix the issue.
| Symptom | Probable Cause | Corrective Action |
|---|---|---|
| Rotten egg odor | Waterlogged soil and anaerobic bacteria | Stop watering, drain excess reservoir water, and aerate soil. |
| Plants wilting/yellow leaves | Root rot or lack of nutrients | Check soil moisture. Reduce watering frequency if soil is soggy. |
| Isopods dying off | Substrate is too dry | Mist one corner of the tank to create a damp retreat area. |
| Fungus gnats everywhere | Too much moisture on the soil surface | Let the top layer of soil dry out. Add more springtails. |
| White mold spreading | System is cycling or has poor airflow | Add more springtails. Increase ventilation slightly if needed. |
According to the USDA Agricultural Research Service, soil moisture management is the single most critical factor in controlling soilborne plant pathogens. Keep the surface moist but not muddy to maintain a healthy microbial balance.
Frequently Asked Questions
Do bioactive terrariums need to be cleaned?
You do not need to replace the soil or scrub the interior decorations. You only need to wipe down the glass panels and prune dead plant leaves. The cleanup crew handles the organic waste decomposition naturally.
How long does a bioactive terrarium last?
A properly balanced system can thrive for several years without a soil change. The plants and microfauna create a self-sustaining cycle that maintains soil fertility. You only need to add new leaf litter occasionally.
Can I use wild bugs for my cleanup crew?
We do not recommend using wild-caught insects in your setup. Wild bugs can introduce parasites, pesticides, or harmful bacteria into your closed ecosystem. Always purchase captive-bred springtails and isopods from reputable sellers.
Do I need to fertilize my bioactive plants?
You do not need to add chemical fertilizers to a bioactive tank. The isopods and microbes break down waste into natural nutrients for the plants. Chemical fertilizers can harm your cleanup crew.