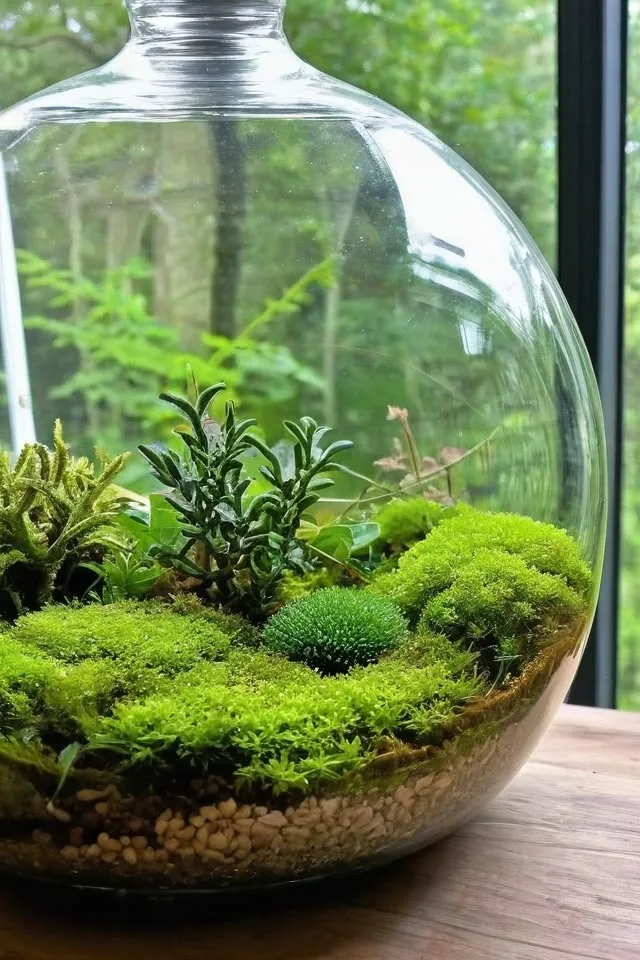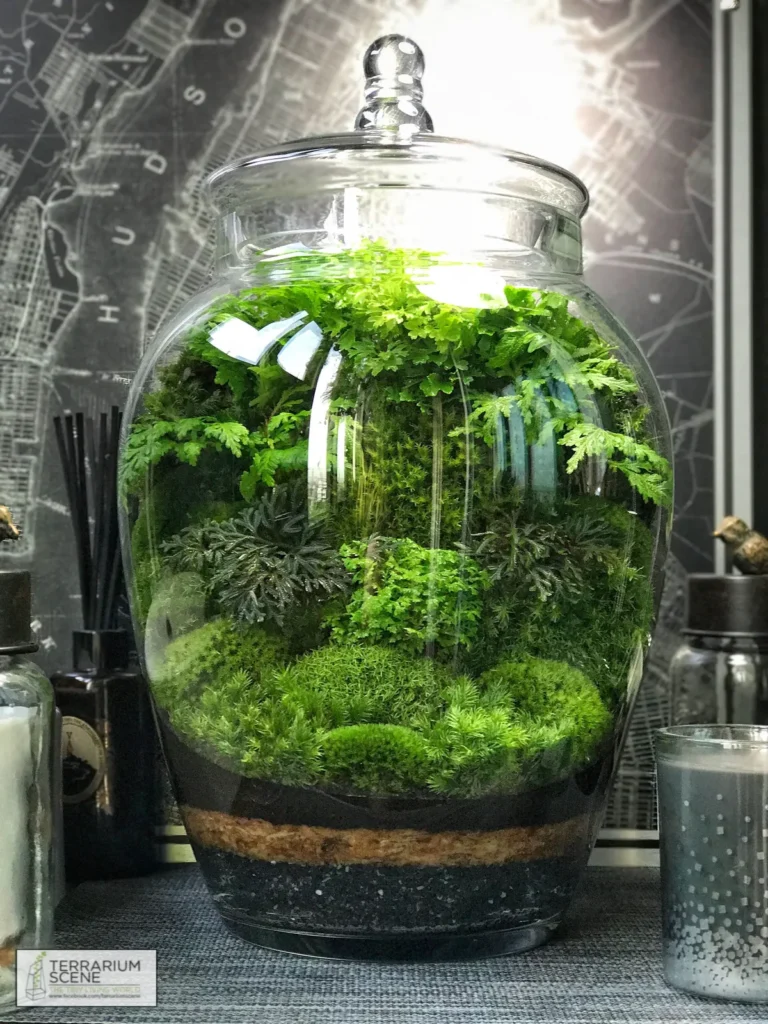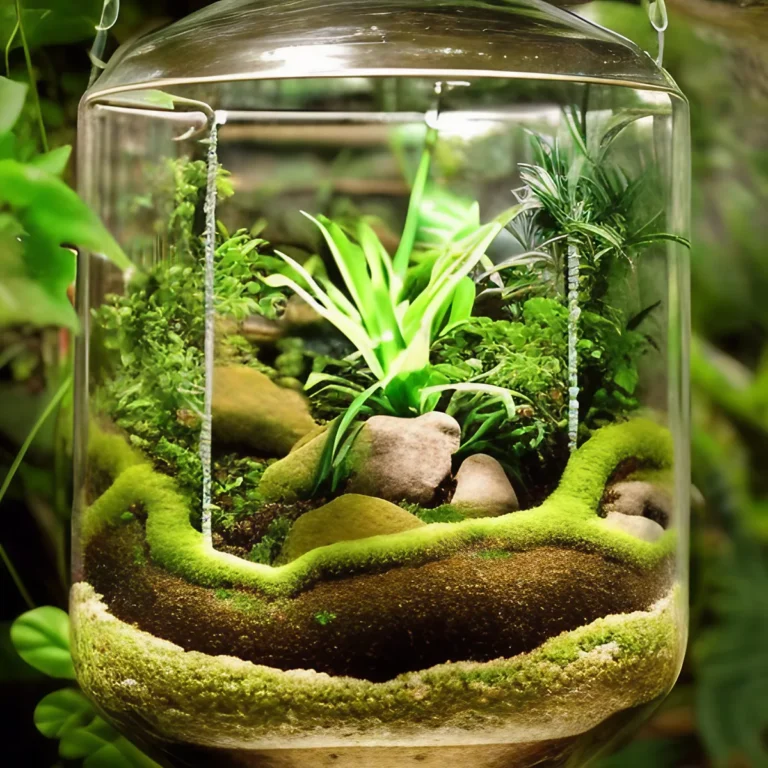

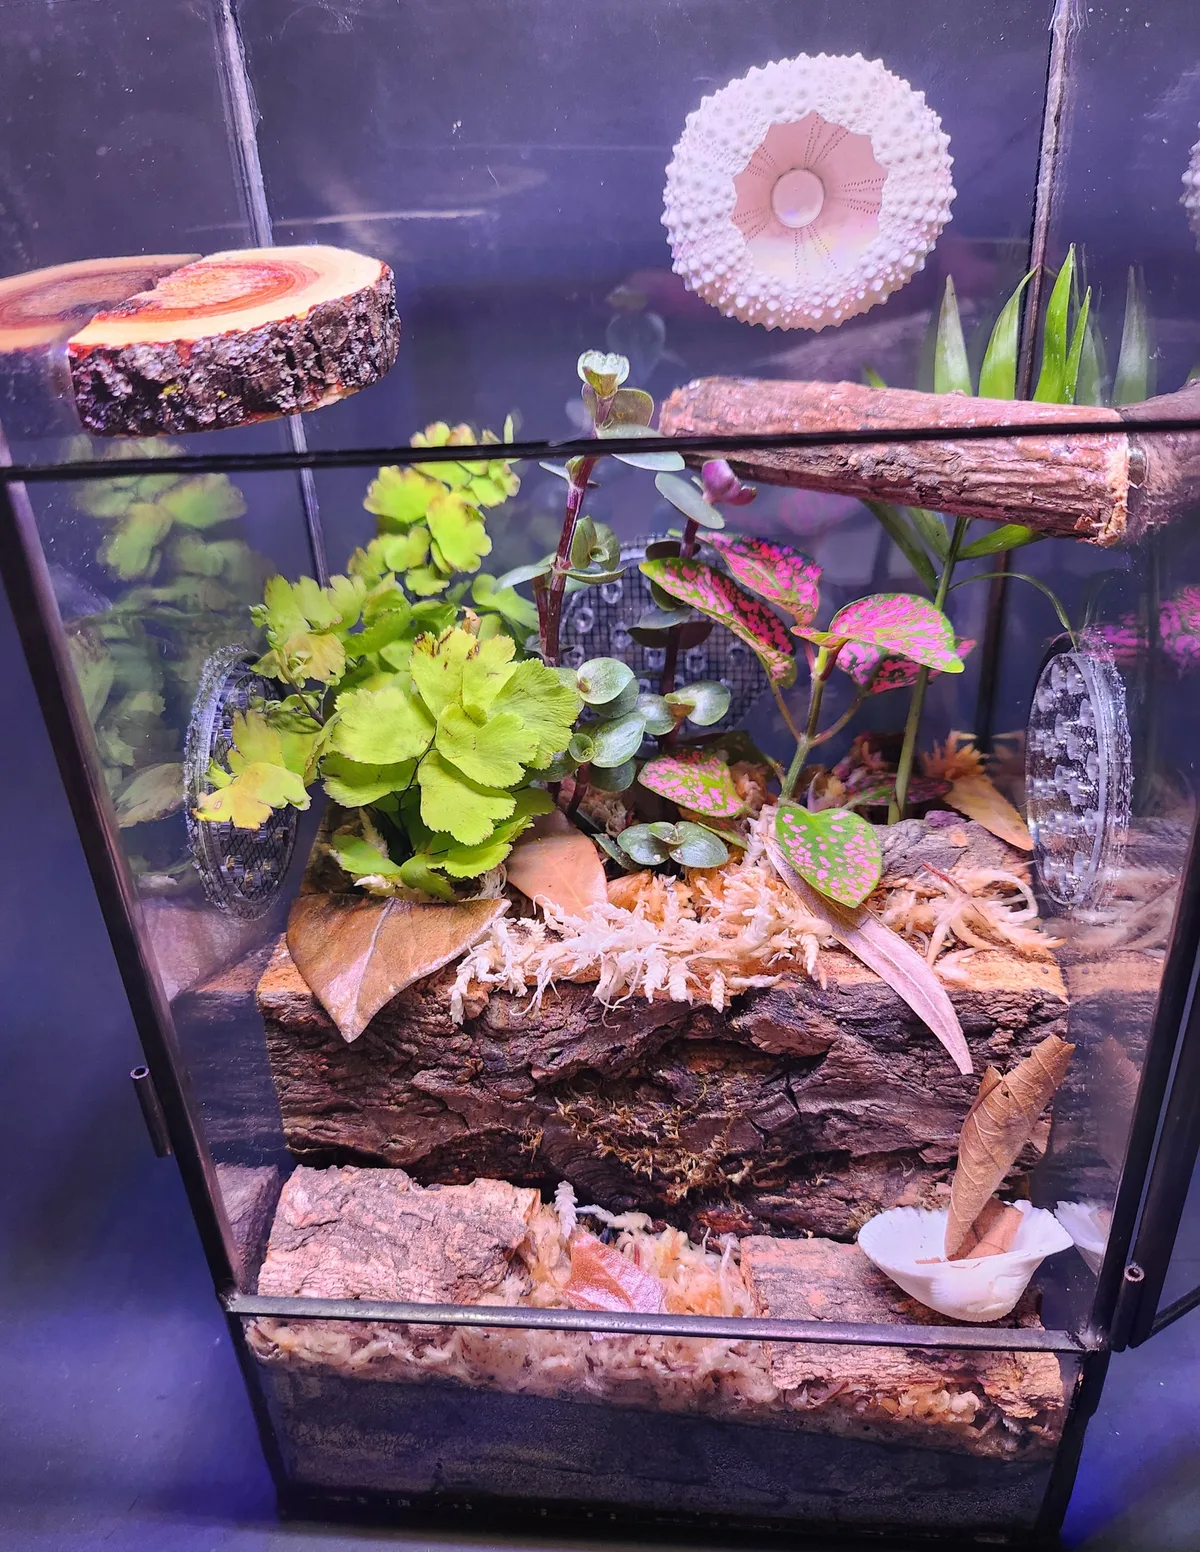
Detritivores in Terrarium: The Workers Who Break Down Waste transform your enclosure from a static plant display into a living, self-sustaining ecosystem. These tiny creatures handle the dirty work of breaking down decaying leaves, feces, and dead plant matter. Without them, waste builds up rapidly, leading to mold outbreaks and toxic ammonia spikes that can kill your plants or pets.
Getting this right is simple once you understand the specific roles of different species. Research indicates that a balanced bioactive setup typically requires a specific ratio of isopods to springtails to function correctly as of 2026 standards for hobbyist enclosures. Let’s look at how these workers operate and how to set them up for long-term success.
Why Your Terrarium Needs a Cleaning Crew
Most terrariums start as simple green displays. You add soil, water it, and watch the plants grow. That works for a while.
But soon, dead leaves fall. Feces accumulate. Mold appears on the glass.
The system becomes unbalanced.
This is where detritivores become essential. They are the recycling engines of your micro-ecosystem. They consume organic debris and convert it into nutrient-rich soil.
This process supports plant health and reduces maintenance effort significantly.
A healthy bioactive layer relies on these microscopic laborers. They keep the substrate aerobic and free of toxic buildup. Without them, you face constant cleaning cycles.
You would need to manually remove waste regularly. That defeats the purpose of a low-maintenance habitat.
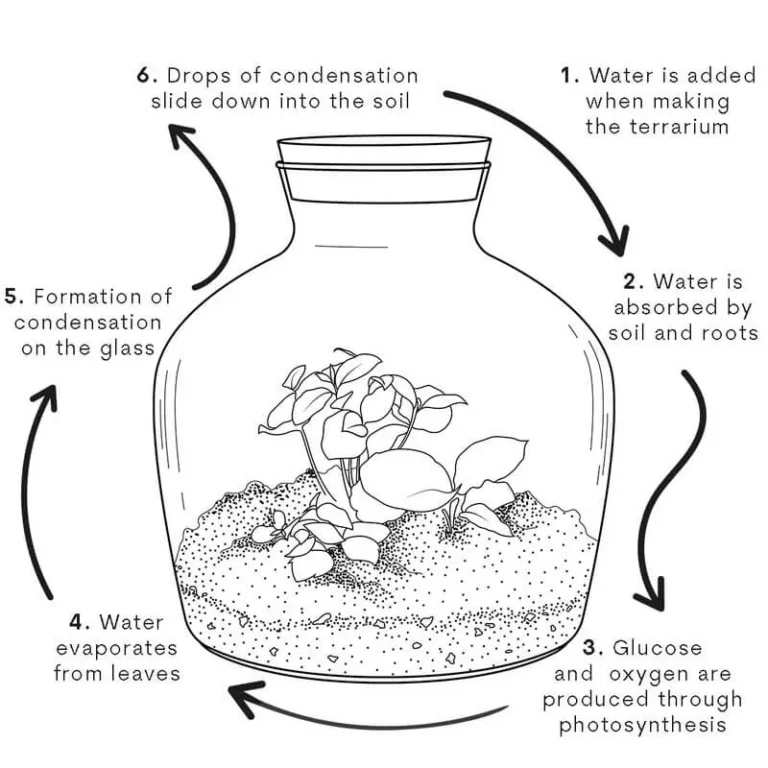
Consider the scale of decomposition in a closed container. In a terrarium vs planter vs fish tank vs greenhouse comparison, the enclosed nature of a terrarium traps moisture and heat. This environment accelerates decay naturally.
Detritivores thrive here but also require proper introduction. They manage the rate of decomposition to match nutrient uptake by plants.
If you skip this step, you risk creating a stagnant environment. Stagnation leads to bacterial blooms and fungal overgrowth. These can harm both flora and fauna residing in the setup.
Let’s meet the key players responsible for keeping everything running smoothly.
The Tiny Workers: Isopods and Springtails Explained
Not all cleanup crew members do the same job. Two groups dominate the bioactive scene. These are isopods and springtails.
They fill distinct ecological niches within your terrarium. Understanding their differences helps you build a complete colony.
Isopods: The Surface Cleaners
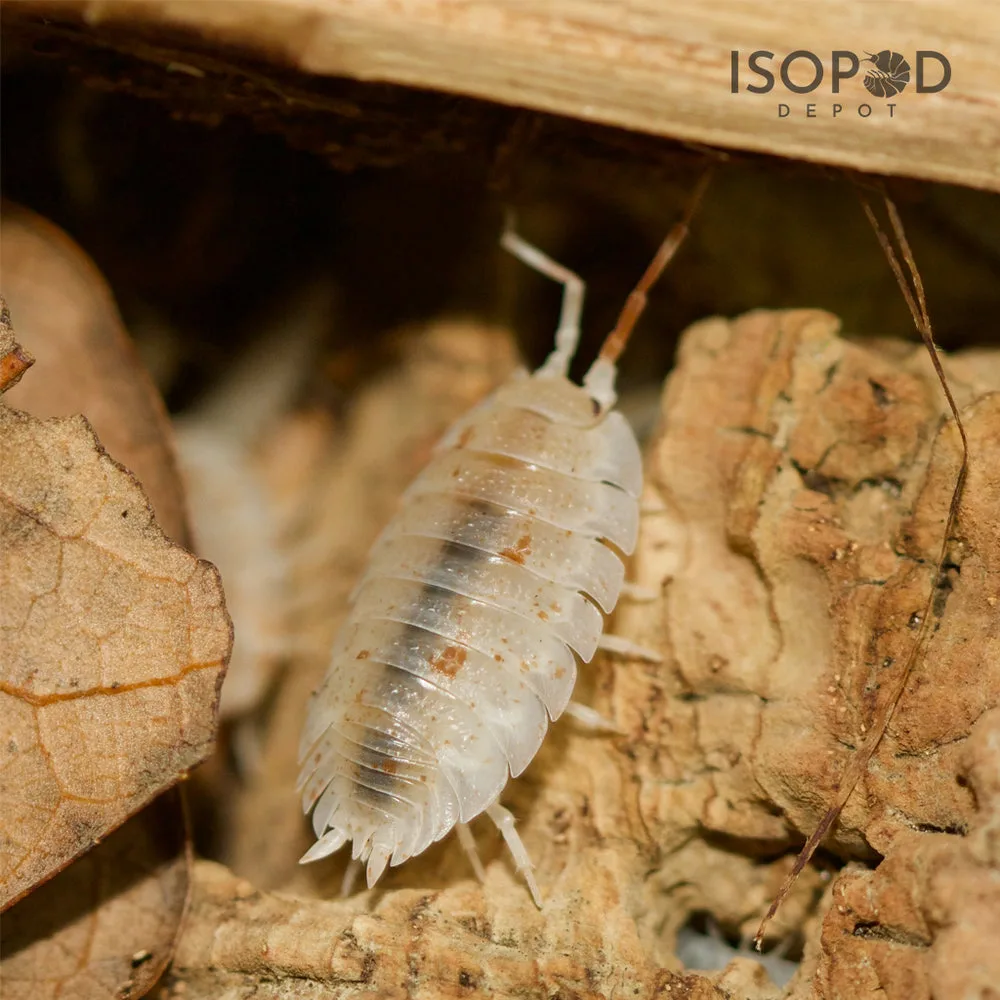
Isopods are those little woodlice you might find under rocks outside. Inside a terrarium, they act as shredders. They eat large pieces of decaying material.
This includes leaf litter and soft fruit skins.
Their primary role is fragmentation. They break down bulky organic matter into smaller particles. This increases the surface area for microbes to work on.
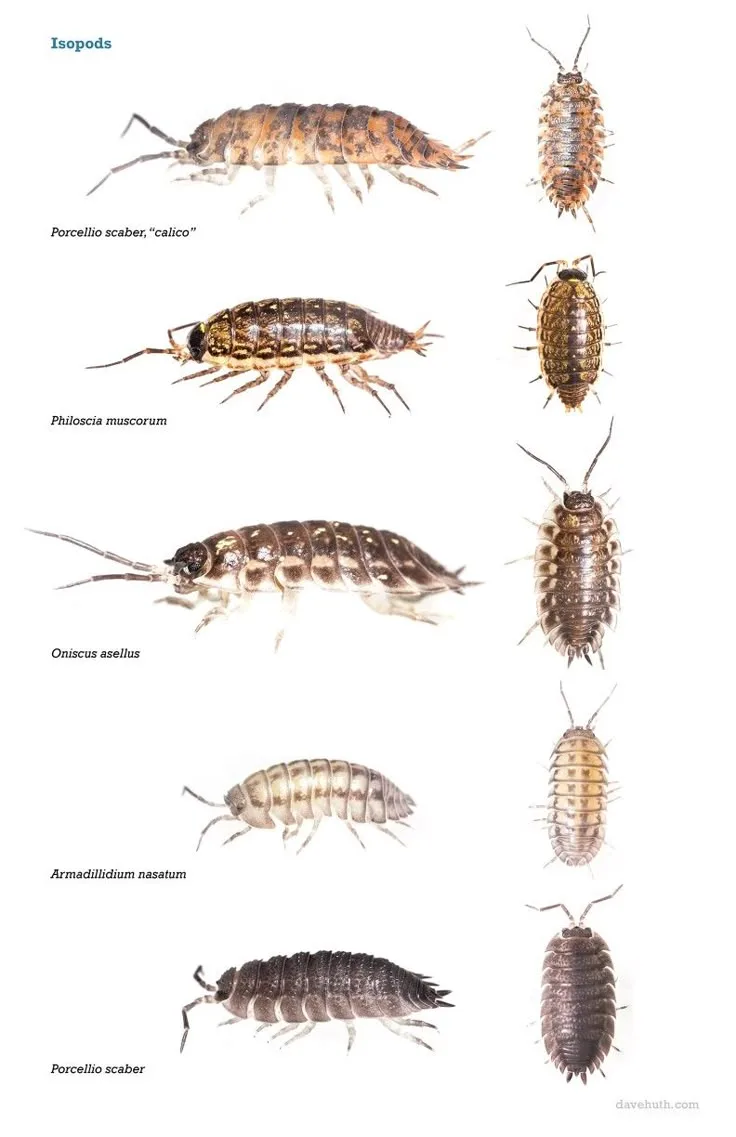
Common species include Porcellio scaber and Armadillidium vulgare. These isopods prefer stable humidity levels. They reproduce quickly if food sources remain plentiful.
Springtails: The Microscopic Recyclers
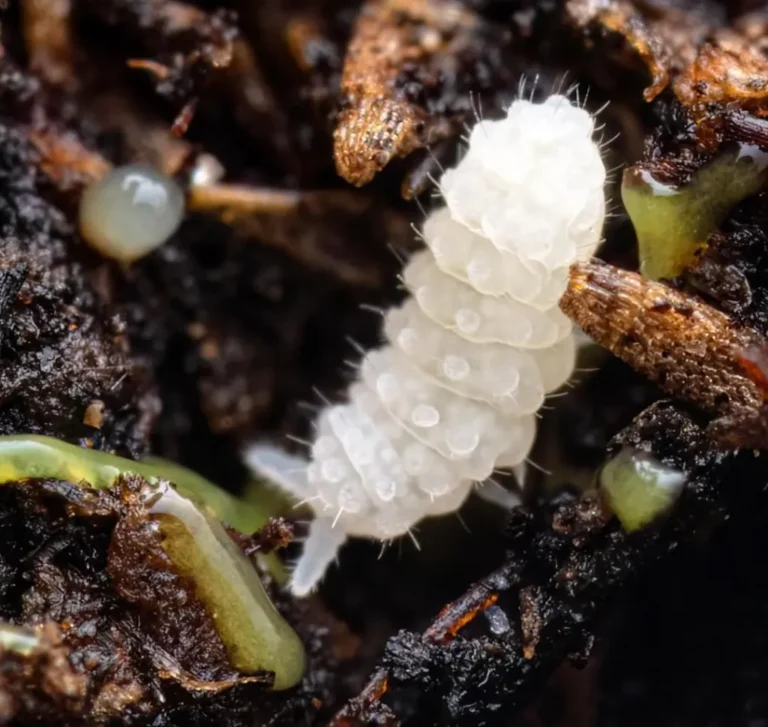
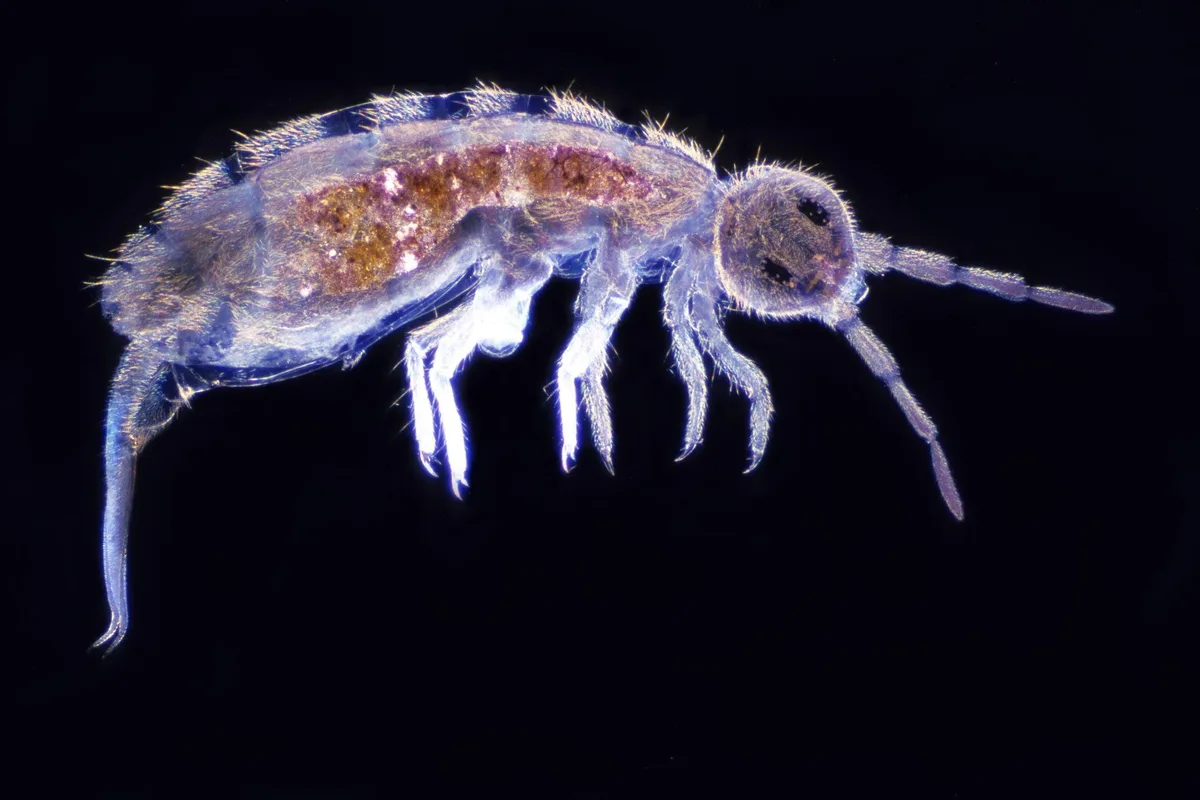
Springtails are much smaller. You often see them as tiny white specks jumping across glass or soil. They operate at the microscopic level.
They feed on fine particulate matter and fungal spores.
Think of them as the secondary recyclers. While isopods handle the heavy lifting, springtails clean up the rest. They prevent mold accumulation by consuming fungal hyphae.
This keeps the ecosystem balanced. Species like Folsomia candida are staples in bioactive setups. They thrive in moist environments but can survive short dry spells.
Together, these two groups form a complete cleaning cycle. Isopods shred, springtails refine. Neither can function optimally without the other in most closed systems.
Their partnership ensures efficient nutrient cycling.
Choosing the Right Crew for Your Setup
Selecting the correct species depends entirely on your enclosure type. Not every detritivore suits every environment. Matching species to conditions prevents escape issues and colony collapse.
Closed System Requirements
Closed terrariums maintain high humidity and stable temperatures. This mimics tropical rainforest floors. Isopods thrive in these damp conditions.
They need consistent moisture to breathe through their gills.
Springtails flourish in closed setups too. They help control the excess humidity-driven mold growth. However, overpopulation is a common risk here.
Excess food leads to springtail explosions. Monitor populations closely in sealed environments.
Open System Challenges
Open terrariums experience fluctuating humidity and temperature. Many isopods cannot survive these conditions. They will dehydrate and die quickly.
Only drought-tolerant species adapt well here.
Oniscus asellus is one species that handles lower humidity better. It seeks moisture whenever possible. Springtails also struggle in open tanks unless misted frequently.
They rely on capillary action in moist substrates to move.
| Enclosure Type | Ideal Isopod Species | Ideal Springtail Species | Moisture Level |
|---|---|---|---|
| Closed Tropical | Porcellio scaber, Cylisticus convexus | Folsomia candida | High (80-100%) |
| Open Desert | Oniscus asellus | None required | Low (<30%) |
| Semi-Closed Paludarium | Trichoniscus pusillus | Euporitis albinotatus | Moderate (50-70%) |
Consult resources on [types of terrariums] when deciding which setup fits your space. Your choice dictates which workers you invite inside. Mismatching species leads to failure.
Always prioritize survival needs first.
Setting Up Your Bioactive Substrate
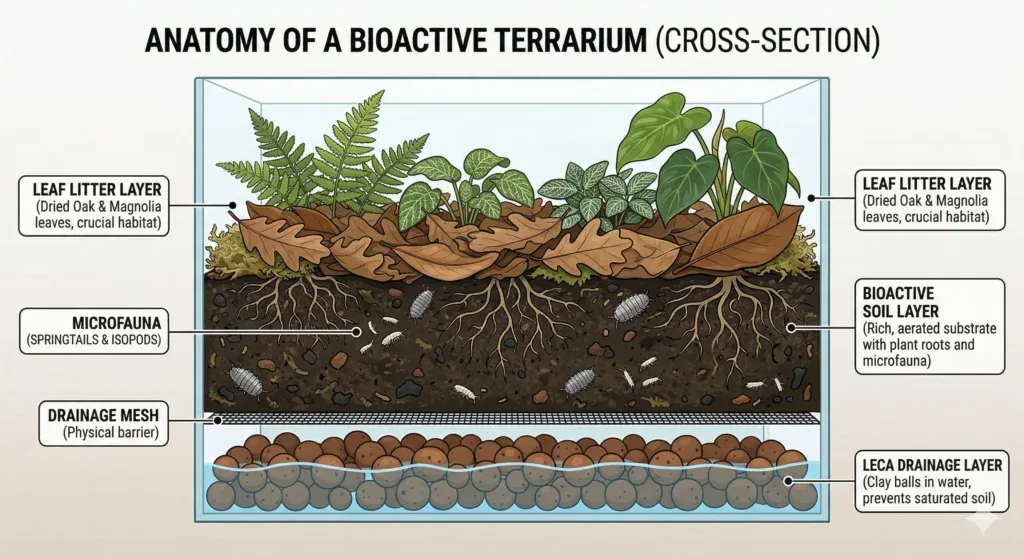
The foundation of any healthy colony starts with the substrate. You cannot expect live microbes to thrive in sterile rock wool. You need a living medium that supports biological activity.
Creating the Living Layer
A proper bioactive substrate consists of multiple layers. Each layer serves a specific drainage and aeration purpose. Start with a drainage layer at the bottom.
Use expanded clay balls or sphagnum moss here. This prevents waterlogging the root zone.
Above the drainage layer lies the barrier. A mesh screen separates the wet base from the soil. This allows gases to pass but stops roots from penetrating further down.
Follow this with an active biological layer. This is where your detritivores will live. Use a mix of cocopeat, peat moss, and sterilized soil.
Adding Leaf Litter
Leaf litter is crucial for isopod survival. Provide a thin layer of dried leaves on top. Oak, maple, and beech leaves work best.
Avoid treated woods or leaves from toxic trees. This organic matter serves as their initial food source.
[Best terrarium soil substrate] options vary by species preference. Ensure the mix retains moisture without becoming compacted. Compacted soil suffocates roots and discourages burrowing.
A healthy substrate feels fluffy yet holds shape when squeezed. This structure supports the complex underground tunnels dug by your cleanup crew.
Introducing Detritivores: When and How
Timing matters more than quantity. Introducing animals too early can crash your nascent ecosystem. Wait for the biological processes to stabilize first.
Step 1: Condition the Enclosure
Before adding any life, ensure the environment is safe. Run the terrarium for at least two weeks. Monitor temperature and humidity stability.
Plants should be established with new growth. If [plants to avoid in terrariums] were included, remove any struggling specimens now.
Conditioning the substrate takes time. Bacteria need weeks to colonize the soil fully. This bacterial bloom provides the initial food source for springtails.
Rushing this stage leads to starvation. Give your system time to self-regulate before adding larger inhabitants.
Step 2: Add Springtails First
Introduce springtails after conditioning begins. They reproduce quickly and establish colonies easily. Add a starter culture directly onto the substrate surface.
Do not force them into the soil immediately. Let them disperse naturally.
Cover the enclosure lightly during this phase. This maintains humidity while allowing minimal air exchange. Check daily for signs of activity.
Seeing tiny white flecks moving confirms successful establishment. They will begin feeding on early microbial growth immediately.
Step 3: Add Isopods Last
Wait until springtails have settled for another week. Then introduce your isopod population. Start small.
A dozen individuals per square foot is sufficient initially. They need the biofilm created by springtails to survive early on.
Ensure leaf litter covers their entry points. This reduces stress during acclimation. Provide a moist hiding spot using cork bark or driftwood.
Once acclimated, they will join the springtails in the soil matrix. This phased approach minimizes mortality risks effectively.
Feeding and Maintaining Your Cleanup Crew
Most keepers assume their cleaning crew will survive on dead leaves alone. That logic works for large enclosures with heavy plant turnover. Small bioactive setups require supplemental input.
Detritivores need consistent nutrition to reproduce efficiently. Without extra food, they turn on each other or die out.
Understanding Their Diet
Springtails consume microorganisms primarily. They eat fungi, bacteria, and decaying spores. You rarely need to feed them directly.
If you see excessive mold growth, your springtail population is likely healthy and doing its job. They control the fungus naturally.
Isopods require more varied nutrients. They need calcium for exoskeleton development. Lean protein helps them breed faster.
Commercial reptile/herpetology foods work well here. High-quality vegetables like zucchini or carrots also serve as good supplements.
Supplemental Feeding Schedule
Don’t overfeed your colony. Excess food rots before they can eat it. Rotting matter creates ammonia spikes.
This kills both plants and animals in your tank. Start with tiny portions. Add a few flakes of food or small vegetable slices twice a week.
Remove uneaten food after 48 hours. This prevents fermentation and bad odors. If the food disappears quickly, increase portion size slightly next time.
Adjust based on colony density and temperature. Warm environments accelerate metabolism. Cooler tanks slow down digestion rates significantly.
Population Control: Prevention and Management
A thriving colony is a good thing. An exploding colony becomes a pest problem. Springtails can multiply rapidly under ideal conditions.
You may find them crawling across glass surfaces. This looks unsightly and indicates imbalance.
Managing Springtail Explosions
Overpopulation usually stems from excess moisture or food. Check your watering habits. Ensure condensation levels are normal.
Too much water creates breeding grounds. Reduce misting frequency if needed. Let the substrate dry out slightly between sessions.
If numbers remain high, introduce predators. Some isopod species eat springtails. Trichoniscus pusillus is known for this behavior. It keeps springtail populations in check naturally.
This biological control method avoids manual removal. Manual removal is difficult and rarely effective long-term.
Preventing Isopod Escapes
Isopods escape when conditions become hostile. Dry spots trigger their instinct to seek better environments. Secure lids are essential for closed tanks.
Use fine mesh screens on open setups. Ensure no gaps exist around edges or ventilation points.
Create a gradient environment. Keep some areas moist and others slightly drier. This encourages them to stay within optimal zones.
Provide ample hiding spots using cork bark or root structures. Stressful environments lead to mass migration attempts.
Troubleshooting Common Issues
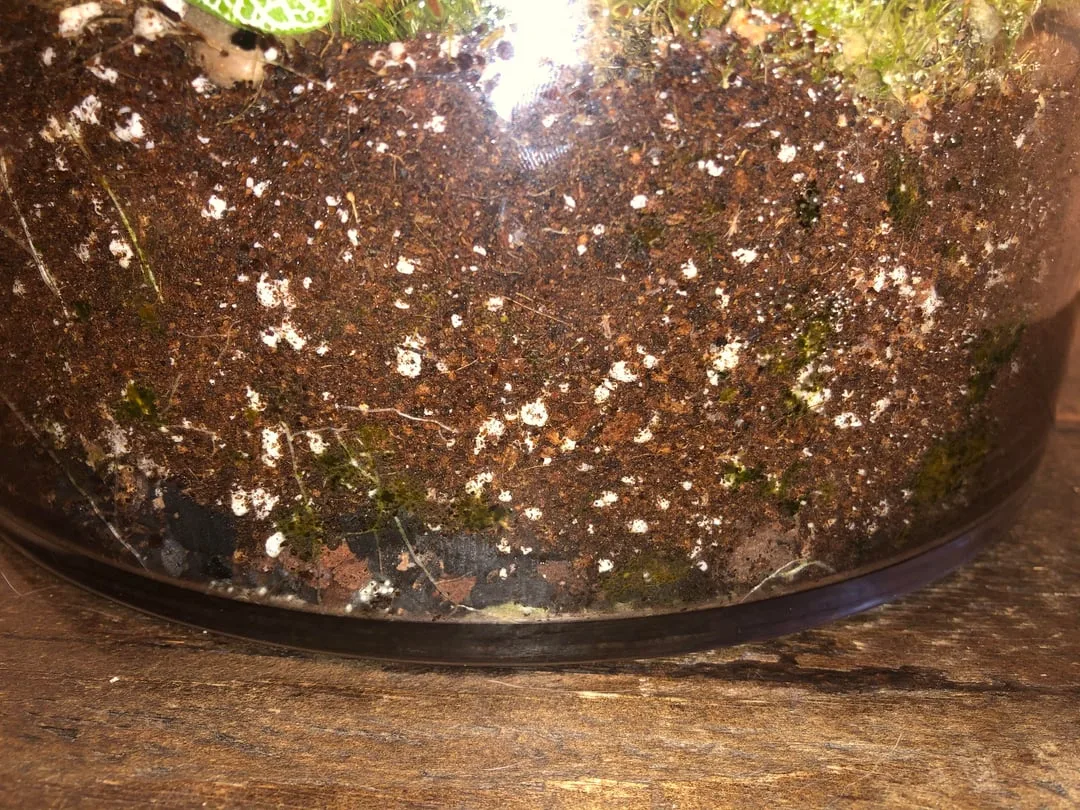
Even perfect setups encounter hiccups. Mold outbreaks happen frequently. White fuzz on leaves signals fungal growth.
Green algae on glass indicates too much light or nutrients. These issues disrupt the delicate balance of your ecosystem.
Addressing Mold Outbreaks
White mold is part of the decomposition cycle. It breaks down tough organic matter. However, excessive growth suffocates plants.
Identify the cause immediately. Usually, it results from overwatering or poor air circulation.
Increase ventilation if possible. Remove visible mold manually using tweezers. Introduce more springtails if the population is low.
They will consume the surplus fungal biomass. Avoid chemical fungicides inside terrariums. These chemicals harm beneficial microbes and pets.
Dealing with Stagnation
Sometimes the ecosystem stops working entirely. Leaves pile up without breaking down. Soil smells sour instead of earthy.
This indicates a lack of active detritivores. Your colony may have collapsed due to pH imbalance or toxicity.
Test soil pH levels periodically. Aim for slightly acidic conditions (5.5, 6.5). Add crushed eggshells to raise pH if too acidic.
Cleanse the substrate by removing all detritus. Restart the biological layer with fresh organisms. Patience is key during recovery phases.
Ecosystem restoration takes time.
Expert Tips for a Thriving Micro-Environment
Building a functional bioactive layer requires attention to detail. Small adjustments make huge differences in long-term stability. Focus on creating a self-regulating environment.
Minimize external interventions whenever possible.
Optimizing Substrate Depth
Deep substrates support larger populations. A minimum depth of two inches works for basic setups. Four inches allows for complex tunneling systems.
Isopods burrow deeper into moist layers. This protects them from surface fluctuations.
Use layered materials effectively. Combine coarse drainage bases with fine topsoil. This structure promotes root growth and animal movement.
Avoid compacted soils that restrict airflow. Oxygen is critical for aerobic decomposition. Anaerobic pockets create harmful gases.
Leveraging Leaf Litter Benefits
Leaf litter provides multiple advantages beyond food. It retains moisture in the top layer. It shelters small organisms from predators.
It slowly releases nutrients as it decomposes. Maintain a steady supply of fresh leaves.
[Leaf litter in terrariums] offers essential benefits for humidity regulation. Gather local fallen leaves carefully. Clean them thoroughly to remove pesticides.
Boil oak or maple leaves before adding them. This ensures sterility and removes tannins.
maintenance-long-term-optimization” class=”wp-block-heading”>Maintenance / Long-Term Optimization
Long-term success depends on regular monitoring. Check your terrarium weekly for signs of distress. Observe plant health and animal activity.
Adjust care routines based on seasonal changes. Consistency builds resilience in your mini-world.
Routine Checks
Inspect condensation levels daily. Wipe excess water from glass if present. Trim dead plant leaves regularly.
Remove any visible debris from surfaces. This reduces the workload for your cleanup crew.
Monitor temperature variations throughout the day. Use [thermal inertia why terrariums stay warm] principles to buffer swings. Insulate sensitive setups if needed.
Stable climates prevent stress-related die-offs in your fauna.
Seasonal Adjustments
Winter brings lower light and cooler temperatures. Plants grow slower. Detritivore activity decreases.
Reduce feeding frequency accordingly. Do not overcompensate with extra food. Spring follows winter with increased energy.
Boost nutrition levels gradually then. Align maintenance with natural cycles.
Frequently Asked Questions
Can I keep isopods in an open terrarium?
Yes, but only drought-tolerant species like Oniscus asellus. Most common isopods require high humidity found in closed systems. Open tanks expose them to rapid dehydration risks.
How often should I feed my detritivores?
Feed isopods twice weekly with small portions. Remove uneaten food after 48 hours. Springtails generally do not require supplemental feeding if mold exists.
What happens if my springtail population explodes?
Excessive springtails indicate too much moisture or food. They jump onto glass surfaces visibly. Increase ventilation and reduce watering immediately to correct the imbalance naturally.
Do detritivores eat live plants?
Generally, no. They prefer decaying matter exclusively. However, weakened or dying plant roots attract them.
Strong, healthy plants repel them through vigorous growth and defenses.
How long does it take to establish a bioactive layer?
Initial conditioning takes about two weeks before adding animals. Full ecosystem stability may require several months. Patience during setup ensures longevity.