

You just poured a bit too much water into your terrarium. The glass looks like a rainforest window and every plant seems soggy. Don’t panic yet.
Most overwatered terrariums recover fully when caught early and treated with the right steps. The plants aren’t dead. They’re just drowning, and that’s fixable.
Per guidance from university extension horticulture programs, a properly balanced closed terrarium recycles its own water indefinitely through evaporation, condensation, and precipitation. But once free water pools above the drainage layer, oxygen gets pushed completely out of the root zone. Without oxygen, roots suffocate within days.
Let’s walk through exactly what’s happening and how to get your jar back on track.
Quick Answer: Yes, Probably — Here’s How to Tell in 60 Seconds
Most overwatered terrariums recover fully when caught early. Start by checking condensation patterns and sniffing the soil. If stems are still firm, your plants are salvageable.
If everything is mushy and smells rotten, some losses are permanent. Follow the stages below to find your rescue path.
Why Sealed Jars Drown Plants Faster Than Regular Pots Do
Open pots dry out because excess water evaporates through the soil surface and drains freely from the bottom. A sealed terrarium has no escape hatch. Water cycles endlessly inside the glass, and that means any extra moisture stays trapped until something gives.
Here’s what a typical terrarium water cycle looks like under normal conditions:
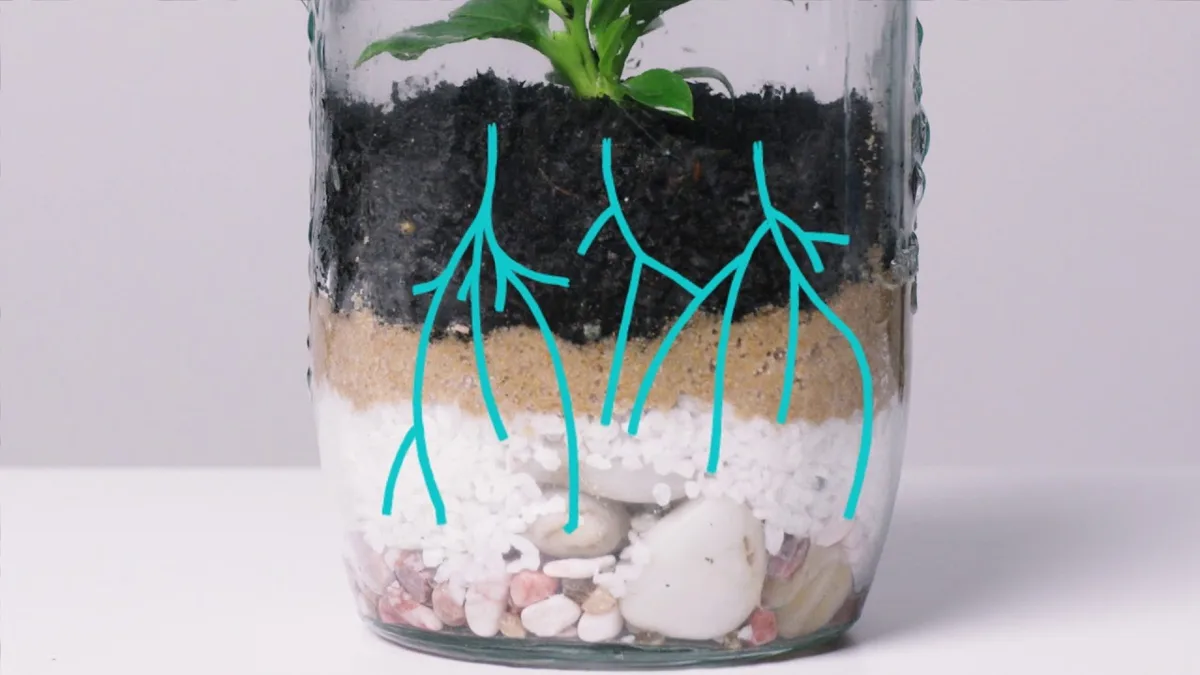
Water evaporates from the substrate and plant leaves. It condenses on the cooler glass walls. Gravity pulls it back down as artificial rain.
Under ideal balance, this loop runs smoothly for months or even years without a single drop added.
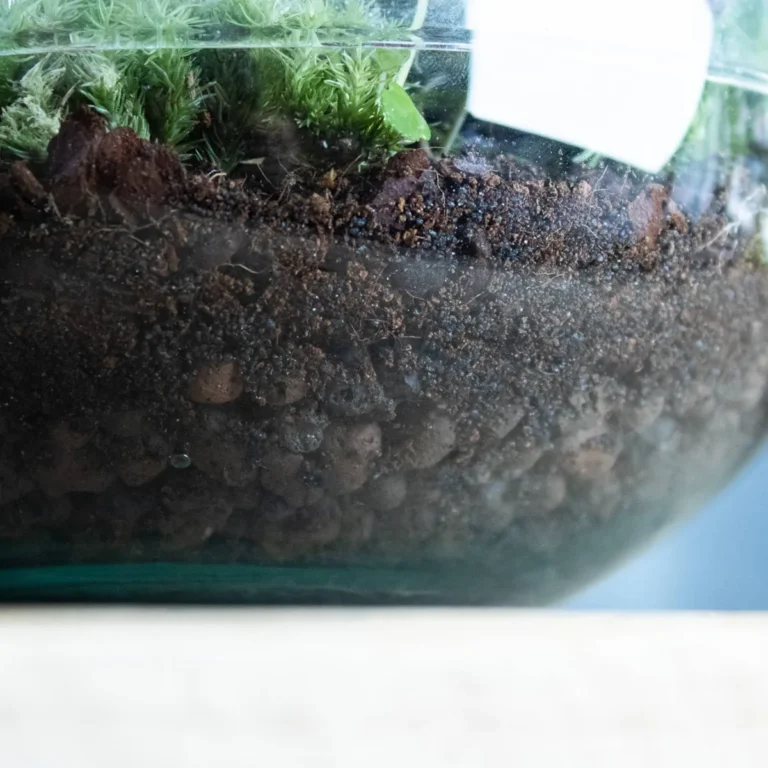
But throw in too much water, and the system goes haywire. The drainage layer fills up. Water rises above the false bottom and sits directly against the roots.
The substrate becomes waterlogged instead of merely damp. Microbes that need oxygen can’t breathe, and anaerobic bacteria take over.
That’s why sealed terrariums can kill plants faster than regular pots. The same container that keeps humidity stable also locks in excess water. Once you see constant dripping on the glass, the damage is already underway.
The good news is that these systems are designed to self-correct. Once you remove the excess water and give the jar a chance to rebalance, the water cycle settles back into a healthy rhythm. Read more about how the terrarium water cycle works and why closed terrariums rarely need watering once established.
The 60-Second Diagnosis: Is It Really Overwatered?
Before you start pulling plants apart, take sixty seconds to confirm what’s actually wrong. A lot of beginner panic comes from mistaking normal terrarium behavior for disaster.
Here’s your three-step check:
Condensation pattern. Healthy terrariums show light fog in the morning that clears by midday. If water droplets run down the glass all day long, you’ve got an overwatering problem. Constant dripping means the system can’t keep up with evaporation.
The sniff test. Lean over the open lid and smell the substrate. Fresh, earthy, slightly sweet is normal. Sour, rotten egg, or swampy smells mean anaerobic bacteria are at work.
That’s root rot warning sign number one.
The squeeze test. Push your finger two inches into the soil. If water squeezes out between your fingers, the substrate is saturated. If it feels like a wrung-out sponge, you’re fine.
If it crumbles and falls apart, it’s too dry.
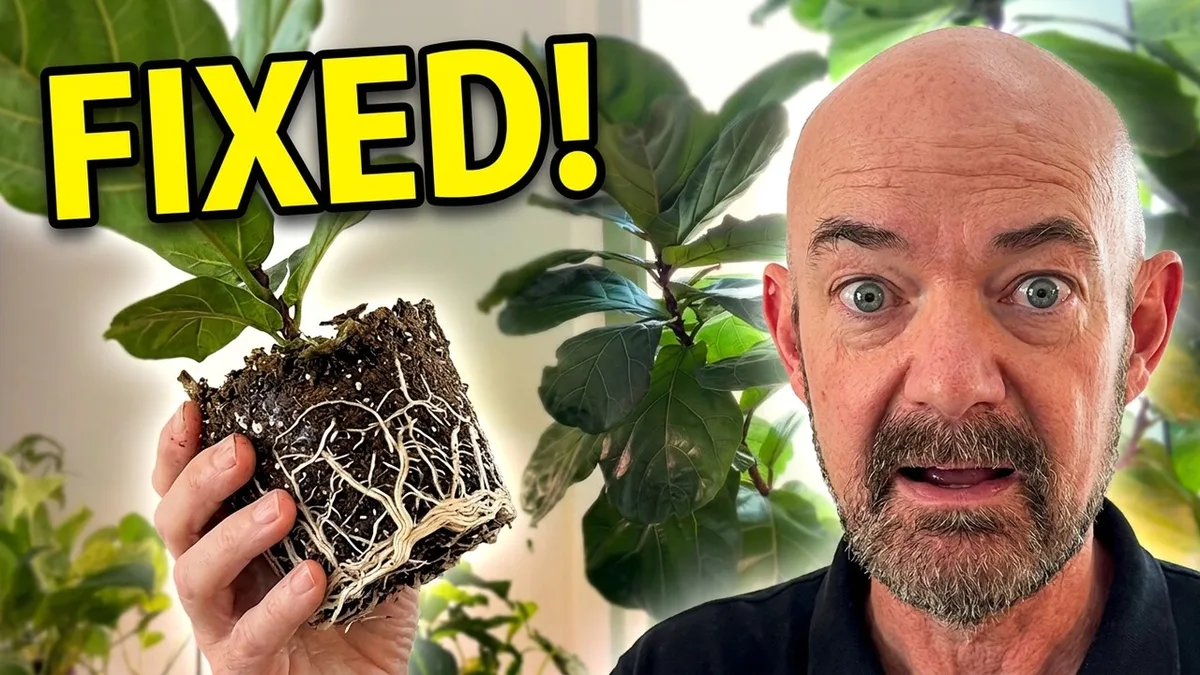
Pay attention to the plants themselves. Yellowing leaves that feel soft and translucent signal excess water. Brown crispy leaves usually mean the opposite.
Drooping fern fronds and melting moss patches both point toward waterlogged conditions.
If your stem feels mushy between your thumb and forefinger, that plant is likely past saving. Firm stems that look dull but intact can usually pull through once you vent the jar.
The condensation FAQ page walks through common confusion between normal fog and actual overwatering. Reading through it can save you from unnecessary panic on more than one occasion.
Know Your Setup: Closed Jar vs. Open Bowl vs. Succulent Arrangement
The rescue strategy changes depending on what kind of terrarium you built. Not all containers handle water the same way, and assuming they do is one of the most common beginner mistakes.
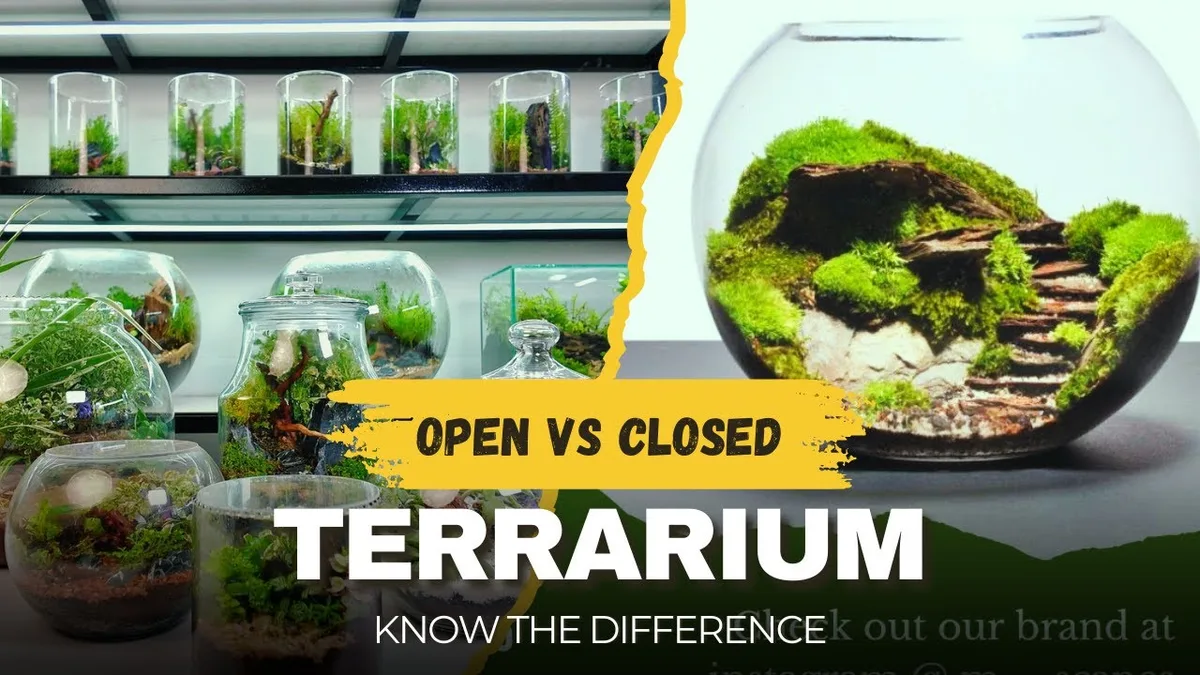
Closed glass jars hold nearly 100 percent humidity. They’re great for tropical plants like fittonia, peperomia, and micro ferns. They’re also the most vulnerable to overwatering because every drop you add stays inside forever unless you actively remove it.
Recovery here depends on patience and controlled ventilation.
Open bowls and geometric containers lose moisture steadily through the top opening. An overwatered open terrarium dries out on its own in a matter of days, often without any intervention. The main risk here is actually underwatering later, not permanent overwatering.
Succulent and cactus arrangements belong in open containers with drainage holes. These plants store water in their leaves and stems. Sitting in wet soil kills them quickly because they evolved for desert conditions, not rainforest ones.
There’s no recovery path for a succulent that’s developed crown rot. Replace the plant and adjust your watering habits going forward.
Understanding which setup you’re dealing with tells you exactly how aggressive your response needs to be. A sealed jar demands immediate action. An open bowl might just need a day of patience.
And a succulent arrangement probably needs a new plant, period.
If you’re not sure what kind of container you have, review this terrarium container guide to understand how different shapes and seals affect water retention.
Rescue Protocol by Severity: Find Your Stage
Your rescue plan depends entirely on how far things have progressed. Pulling plants from a jar that’s only slightly damp looks very different from trying to save one where roots are actively dissolving.
Stage 1: Damp Substrate, Everything Still Firm
The glass shows morning fog that lingers past noon. The soil is dark and cool to the touch but not soupy. Plants look a little tired but nothing has turned black.
What to do: Remove the lid for four to six hours. Place the jar near a warm room-temperature location with indirect light. Add a twisted paper towel into the soil and drainage layer to wick away surface moisture.
Check the towel after an hour and replace it if soaked. Repeat this process daily until condensation returns to a normal light-morning-only pattern.
Recovery typically takes three to five days at this stage. Plants should perk up noticeably once oxygen returns to the root zone.
Stage 2: Standing Water, Some Yellow Leaves
Water pools visibly above the drainage layer when you tilt the jar. At least one or two lower leaves are yellow or translucent. The substrate smells slightly sour but not putrid.
What to do: Crack the lid fully and leave it open for twenty-four to forty-eight hours. Use a syringe or turkey baster to pull standing water out of visible pools. Lay paper towels across the entire soil surface to absorb moisture from above.
Remove any yellow leaves by pinching them gently at the stem.
Once the water level drops and the substrate pulls back slightly from the jar walls, reduce lid-open time to twelve-hour sessions. Reintroduce the lid gradually once condensation follows a normal cycle again.
Full recovery usually takes one to two weeks at this severity level. Some lower leaves will not revive, and that’s normal.
Stage 3: Black Stems, Putrid Smell, Active Mold
The soil smells like rotten eggs. Stems are soft, dark, and collapse under gentle pressure. White fuzzy growth covers parts of the substrate.
This is active root rot.
What to do: Accept that some or all plants need removal. Pull affected plants out carefully and inspect the roots. Healthy roots are firm and white to tan.
Rotted roots slide off like a thin skin, leaving nothing but a string. Trim away all rotten tissue with clean scissors before repotting.
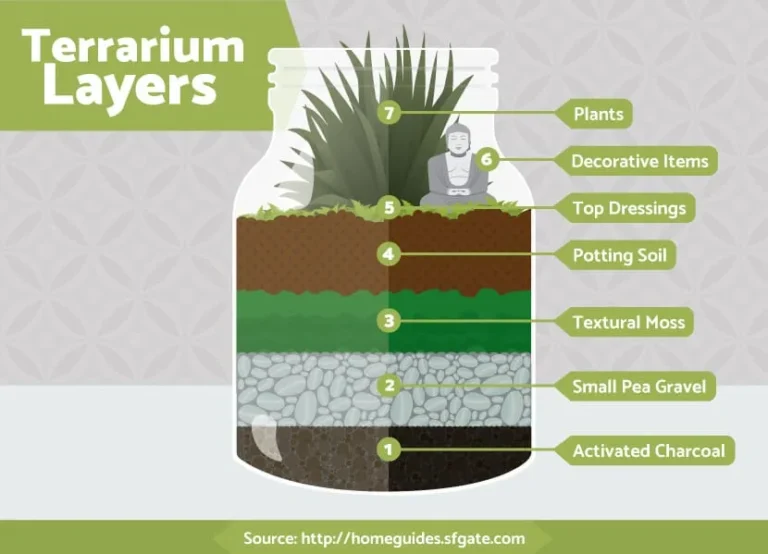
Replace the entire substrate if possible. If the container is sealed tight and the old material is already contaminated, fresh substrate gives your remaining plants the best chance of survival. Add a new layer of activated charcoal and reassemble with only the healthiest specimens.
Keep the jar open for at least one week after repotting. Monitor daily for any spread of decay.
Stage 3 cases often lose one or more plants permanently. But if you act quickly, trim thoroughly, and start fresh with sterile substrate, the survivors can thrive for years. This is exactly why those five common terrarium mistakes exist as a checklist before you build your next jar.
The gas exchange basics explain why oxygen deprivation happens in sealed environments and how proper ventilation restores it without disrupting the whole ecosystem.
Will Moss Turn Green Again? Browning vs. Rotting Explained
Moss recovery depends entirely on why it turned brown in the first place. Root rot kills moss quickly and completely. Dryness kills it slowly and sometimes reversibly.
Telling the difference takes a closer look.
Rotten moss feels slimy and slides apart between your fingers. It turns dark brown or black before going mushy. The smell is unmistakable.
Dead soil odor means the rhizoids have dissolved and there’s no coming back from that.
Dry moss looks brittle and straw-colored. Pull it gently and the whole mat lifts away cleanly. The individual fronds stay intact even when dry.
This type of browning can sometimes recover if you adjust the humidity slowly over a week or two.
Here’s what to expect from common moss types after overwatering. Sheet moss tends to collapse fast when waterlogged. It looks flat and translucent within forty-eight hours of sitting in soaked substrate.
Recovery is rare unless you remove it immediately and let the jar dry out below. Cushion moss holds up better. It compresses but often springs back once the drainage layer clears.
Star moss is the most forgiving. You’ve probably seen it turn brown, sit through a bad watering event, and fade back to green weeks later.
The key is watching what happens during recovery. If the brown patches feel firm even after the jar dries, those sections are dead. If they feel slightly spongy and begin greening at the edges within ten days, you saved part of the colony.
Always remove heavily rotted moss before trying to revive anything nearby. Decaying plant matter releases sugars and spores that spread anaerobic bacteria throughout the entire substrate. Pull it out, toss it, and start cleaning from there.
Read this guide on how terrariums self-regulate to understand why removing rotten material helps the whole system rebalance faster.
White Fuzz and Fungus Gnats: Cleaning Up After a Flood
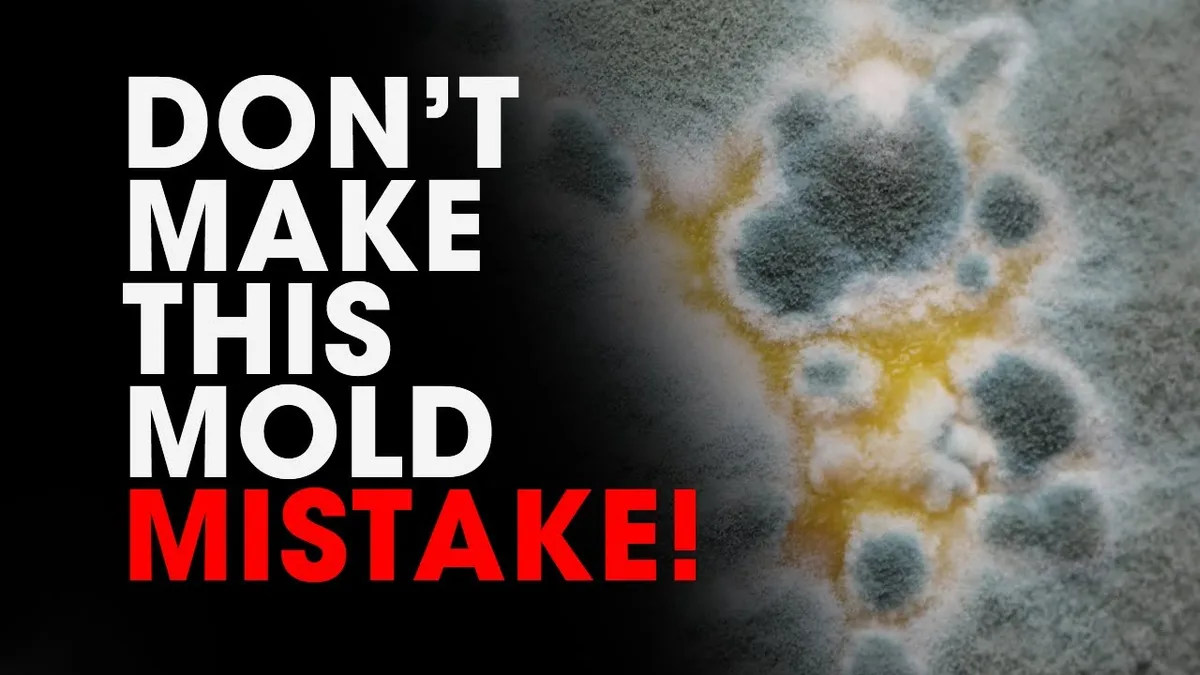
Excess moisture creates two unwanted guests inside terrariums. White fungal growth appears on the soil surface within days of overwatering. Fungus gnat populations explode when larvae find constantly wet organic matter to feed on.
Both problems solve the same way.
Remove the lid completely for twenty-four hours. This drops surface humidity enough to slow fungal spore germination. Use a clean brush or spoon to scrape visible mold off the top inch of substrate.
Discard that material. Do not try to mix it back in.
If you see fungus gnats flying around the jar, the larvae are already breeding in your soil. Adult gnats lay eggs in damp organic matter. Those eggs hatch into tiny white maggots that chew on roots and decaying plant material.
Left unchecked, a single female can produce hundreds of offspring in three weeks.
The fastest long-term fix is adding springtails to your terrarium. These tiny jumping insects eat mold spores, fungi, and decaying matter. They also dig through the substrate, which improves aeration and breaks up compaction.
Once established, they keep mold populations below the visible threshold.
Learn more about springtails and their role as nature’s cleanup crew in miniature ecosystems. They’re one of the most useful additions for preventing post-overwatering mold outbreaks.
Do not spray fungicides inside a sealed terrarium. Chemical treatments kill beneficial microbes along with harmful ones. They also disrupt the microbial mineralization process that recycles nutrients in closed systems.
A simple drying cycle does the job without collateral damage.
If mold returns after you’ve dried the substrate twice, the problem lives deeper than the surface. Check whether your drainage layer is clogged or too shallow. A perched water table sitting above the gravel is almost always the root cause.
6 Mistakes That Finish Off an Already-Soggy Terrarium
Rescuing an overwatered jar is straightforward until you accidentally make it worse. These six errors compound the damage and push recoverable situations past the point of no return.
1. Removing the lid completely and leaving it open for days. This sounds logical but it shocks the system. Closed terrarium plants expect stable humidity.
An instant drop from ninety percent to thirty percent causes rapid leaf scorch that masks the original overwatering problem with a new dehydration crisis. Open the lid only partway. Leave it cracked for four to six hours at a time.
Gradual venting gives the plants time to adjust.
2. Watering less out of fear instead of fixing the real problem. Turning down the watering schedule does nothing if standing water already sits above the drainage layer. The excess water has to go somewhere first.
Remove it physically before changing future habits.
3. Repotting into the same old substrate. Reusing contaminated soil spreads rot pathogens to healthy roots. Even if the new plant looks fine, dormant fungal spores hide in old organic matter.
Always replace substrate after a Stage 3 rescue event.
4. Placing the jar in direct sunlight while recovering. Direct light raises glass temperatures sharply. A soggy jar in hot sun cooks roots that already lack oxygen.
Move the terrarium to bright indirect light during recovery. Terrarium photoperiod matters because plants need rest cycles too. Too much light stress during recovery delays healing.
5. Ignoring the drainage layer depth. A half-inch gravel bed beneath the soil offers almost no reservoir capacity. Water backs up into the root zone immediately after any heavy pour.
Build a proper drainage layer of one to two inches minimum. This gives excess water room to pool away from roots.
6. Trying to save every single plant. Pulling weak specimens out of a compromised jar risks damaging healthy root systems during removal. Make hard calls early.
If a stem collapses between your fingers, remove it immediately. Don’t waste energy nursing a lost cause while stronger plants wait for attention.
These mistakes appear in beginner terrarium error roundups consistently. Reading through them beforehand saves you from repeating them during an emergency.
Also worth reviewing: the complete watering mistakes article covers the most frequent overwatering triggers and how to spot each one before it becomes a crisis.
After the Rescue: Watering Rules That Prevent Round Two
Getting your terrarium back from overwatering teaches you exactly what not to do next time. The difference between a thriving jar and a dead one usually comes down to how carefully you monitor moisture in the first few weeks after rebuilding.
Water only when the top inch of substrate feels dry to the touch. For closed jars, that means checking condensation patterns daily. Light morning fog is normal.
Heavy dripping all day signals too much moisture. Adjust by opening the lid longer or skipping the next scheduled mist.
Use distilled or reverse-osmosis water when possible. Tap water contains chlorine and dissolved minerals that accumulate in sealed containers over time. Mineral buildup damages delicate root hairs and slows recovery after any water-related stress event.
When in doubt, under-water rather than over-water. Terrarium plants tolerate slightly dry conditions far better than saturated ones. A fern that droops from low humidity revives within hours of a light mist.
A fern drowning in standing water loses its lower leaves permanently.
Track your watering schedule in a simple log. Note the date, container type, amount added, and condensation response. Patterns emerge quickly.
Most growers discover they water far less often than they think after tracking just three months of data.
Consider switching to measured misting with a syringe instead of free-pouring water. A syringe delivers consistent tiny amounts rather than unpredictable splashes. You gain control over exactly how much enters the system each time.
Real Scenarios: Three Overwatered Terrariums, Three Different Outcomes
Reading about overwatering theory is one thing. Watching how real jars recover tells you what to expect in your own situation. Here are three documented cases that illustrate the range of possible outcomes.
Case A: The over-poured closed jar. A beginner added half a cup of water to a sealed glass dome containing fittonia and peperomia. Condensation ran down the sides continuously within twelve hours. The owner cracked the lid every six hours for three days, replaced paper towels daily, and removed one yellowing lower leaf.
By day five, condensation returned to light morning fog only. All plants survived. Full recovery took nine days total.
Case B: The staged succulent disaster. A decorative open bowl held echeveria and sedum arranged in decorative sand with no drainage layer. The owner misted weekly using a spray bottle. After six weeks, stems at the soil line softened and collapsed.
Crown rot had set in. No recovery was possible for affected plants. The owner removed all mushy specimens, replaced the substrate with fresh cactus mix, and restarted with only the healthiest cuttings.
Two of four plants survived. The lesson: succulents belong in open containers with sharp-draining substrate. Mist bottles have no place in their care routine.
Case C: The accidental spa treatment. A tall vase terrarium with a cork ball lid contained ferns and moss. Rainwater collected on the windowsill during a storm and the jar sat submerged in a puddle for two days. The owner didn’t notice until condensation became excessive.
They removed the cork, tilted the vase at an angle, and laid paper towels against the opening for eighteen hours. Standing water drained through the ventilation gap. Substrate dried to normal moisture within three days.
No plants died. The jar returned to full health within two weeks.
Each scenario follows the same pattern: catch it early, ventilate gradually, and let the water cycle rebalance itself. The plants that survive are the ones whose crowns stayed above wet soil. Roots may take a setback, but they regenerate once oxygen returns.
Read more about terrarium containers and shapes to understand why certain designs hold more or less water depending on geometry and opening size. Your container choice directly affects how quickly excess moisture escapes.
Frequently Asked Questions
How long does an overwatered terrarium take to recover?
Mild cases resolve in three to five days with basic venting. Moderate cases with some yellowing take one to two weeks. Severe root rot cases often lose individual plants permanently, though surviving specimens rebound within a month once repotted into fresh substrate.
Do I need to remove the lid completely?
No. Removing the lid entirely shocks humidity-sensitive tropical plants. Crack the lid open instead and leave it that way for four to six hours daily.
Gradual ventilation lets excess moisture escape without stressing the canopy.
Can I reuse the old soil after overwatering?
Only if no mold or rot developed. If you see white fuzz or detect a sour smell, discard the substrate entirely. Spent soil harbors dormant fungal spores and anaerobic bacteria that will reinfect healthy roots immediately.
How do I know if my drainage layer is deep enough?
A drainage layer should measure one to two inches minimum. Water should never rise above this layer and contact the soil zone. If standing water sits at the soil line within hours of watering, your drainage bed is too shallow or blocked.
Should I add springtails after a flood?
Yes, if mold appears during recovery. Springtails eat fungal spores and keep substrate surfaces clean without chemicals. Introduce them once the jar has dried down to normal condensation levels rather than while it’s still actively flooding.
Your Decision Guide at a Glance
Use this quick reference table to match your situation to the right rescue action:
| Situation | What You’ll See | Do This |
|---|---|---|
| Light morning fog, dark soil | Normal cycle, barely overwatered | Vent for four hours, monitor |
| Fog lingers all day, damp soil | Mild overwatering | Crack lid, wick surface moisture |
| Visible standing water, some yellow leaves | Moderate overwatering | Remove lid for 24 hours, extract pooled water |
| Sour smell, black stems, white mold | Severe root rot | Remove affected plants, replace substrate entirely |
| Mushy succulent crowns | Fatal for succulents | Discard damaged plants, restart with fresh cactus mix |
Most overwatered terrariums land in the first two rows. The recovery steps are straightforward, and your plants bounce back faster than you might expect. The real damage happens when owners panic and do things like full lid removal, direct sun placement, or reusing contaminated soil.
Avoid those traps, follow the severity-based protocol above, and your terrarium will likely look greener than before within a few weeks.
One final note: as of 2026, the consensus among closed-system horticulture guides remains consistent. Overwatering is reversible when caught early, but repeated flooding destroys the microbial balance that makes sealed terrariums work in the first place. Build a proper drainage layer, respect the water cycle, and you won’t be reading emergency rescue guides very often.